|
|
| |
|
|
 |
| |
| |
|
Basic |
|
| |
|
|
Working
With Layers In Photoshop®
Part Three |
 |
|
|
|
|
|
|
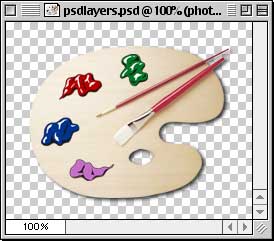
5. You can quickly select all opaque areas in a layer
by Cmd/Ctrl-clicking the layer in the Layers palette.
When you hold down the Cmd/Ctrl key, the mouse pointer
turns into a hand with a square selection marquee (below
left). The result will be that all the pixels in the
layer will be selected. You will see a row of "marching
ants" around the selected pixels in the layer (below
right).
6. To delete a layer, click it and drag
it to the Trash button in the Layers palette (below
left). The result is shown below right.
Click
Here To Continue...
|
|
|
|
|
| |
Previous
Home
Contact Mike
Related Sites
Next
Copyright
© 1998-2016 Mike Doughty, All Rights Reserved Legal
Notices
Page Last Revised: October 26, 2016
Privacy Policy
|
|
|
|
|
|
|
|