|
|
Working
With Layers In Photoshop®
Part Two |
 |
|
|
|
|
|
|
2. You can turn layer visibility on and
off and completely change the appearance of an image
without permanently affecting a single pixel. The eye
icon to the left of each layer controls its visibility.
A layer is made visible or hidden by clicking its eye
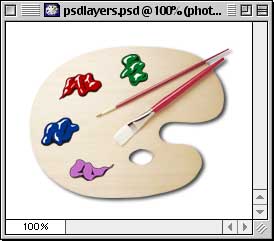
icon (below left). The result is the same Photoshop
document shown previously with the exception that one
of its layers has been hidden revealing the white background
underneath.
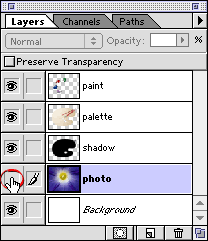
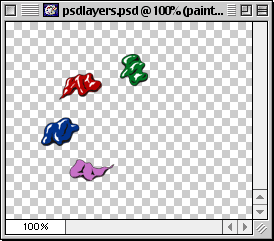
3. Opt/Alt-clicking a layer's eye icon
will make it visible and will hide all others (below
left). In the example below, the layer named "paint"
becomes the only visible layer (below right). Note that
the layer named "photo" is still highlighted.
The highlighted layer in the Layers palette indicates
that it is the active (or selected) layer.
This means that all editing in the document window will
be applied to the active layer.
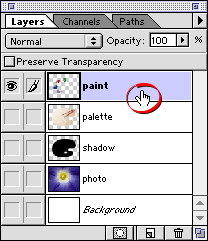
4. Click a layer to activate it (circled
below left). Now all editing in the document window
will be applied to the "paint" layer.
Note that there
is no change in the appearance of the document window
(below right). Look to the Layers palette to see which
layer is active, not to the document window.
Click
Here To Continue...
|