Web Design   Web Hosting   Photoshop Tutorials   Free Fonts   Drawing Basics  
 
Photoshop Tutorials - Free Fonts
[Home]
[Sitemap]
[Blog]
[Read Me First!]
[Photoshop Tutorials]
[Canvas Tutorials]
[Corel Tutorials]
[Quark Tutorials]
[Illustrator Tutorials]
[FreeHand Tutorials]
[Drawing Basics]
[Porting Files]
[Free Fonts]
[Font Tutorials]
[Misc Tutorials]
[Animation]
[About Mike]
[Gallery]
[Related Sites]

 
    Intermediate  
 
  QuarkXPress™ Technical Manual Project
Part 4A - Build The Document

Return To Technical Manual Project Index

1. Switch to the document either by clicking the page icon in the Document palette or by using the Go-To-Page pop-up:

techdoc111a.gif

2. Using the Content tool contenttool.gif, click once in the main text box.

techdoc112.gif

3. In the Measurements palette, set the font to 14 point AGaramond with 14 points of leading.

4. Next, click File > Get Text.

techdoc113.gif

5. Navigate to the file containing the text of the document. In this case the file is named "lorem ipsum.txt" but your file may have been saved with a different name.

techdoc114.gif

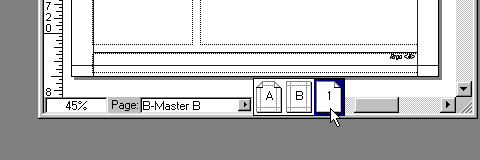
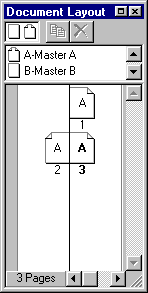
6. This is what the Document palette looks like after loading the text file. Two things have changed. First, Quark™ adds the necessary pages automatically when you setup the document to use an automatic text box. Second, the last page is now the current page of the document. In this case it is page three. You can tell by the the bold letter "A" and number "3" below the page three icon in the palette. Yours may be different depending on the amount of text saved in the file or by differences in your system.

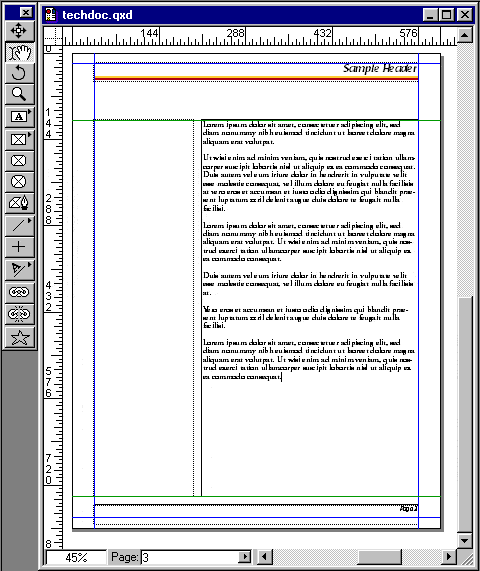
As you make changes to the body copy (the "story"), Quark will continue to add pages as necessary.

techdoc115b.gif

7. This is a view of page three of the document.

techdoc115.gif


Click Here To Continue...


Previous   Home    Contact Mike   Related Sites    Next

Copyright © 1998-2016 Mike Doughty, All Rights Reserved Legal Notices
Page Last Revised: October 26, 2016
Privacy Policy