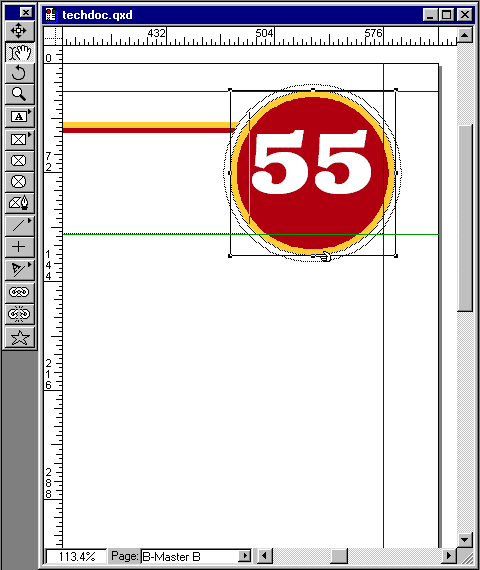
114. With the group still selected, enter 471 points
for the x-coordinate and 14 points for the y-coordinate
in the Measurements palette.
115. Now we are going to fine-tune the type by reshaping
the text box. You could also apply style formatting
to the text itself (using Style > Baseline Shift)
but dragging the text box handle is a little more interactive.
Select the Content tool and click inside the text box.
Drag the bottom center handle downwards keeping
an eye on the the text as you drag.
Tip:
Version 4.x allows the modification of an item with
the Content tool. You use the Content tool to modify
an item within a group. Previous versions of Quark™
restricted modification of items to the Item tool
and content of items to the Content tool.
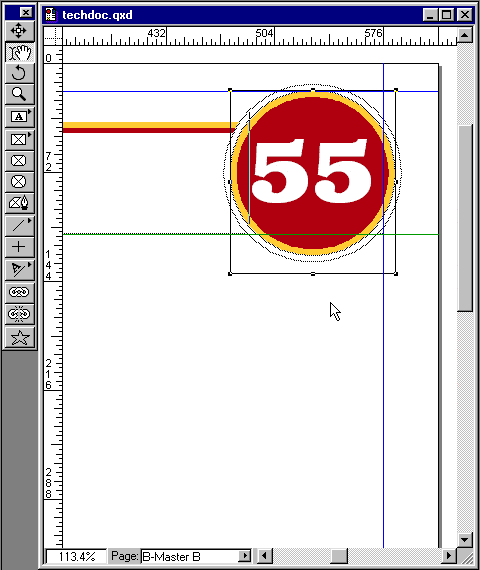
116. When the type looks centered vertically, release
the mouse.
117. The Measurements palette now shows 120.531 points
for the text box height. You can enter this value manually
if you want.
118. This is a view of the finished text box.
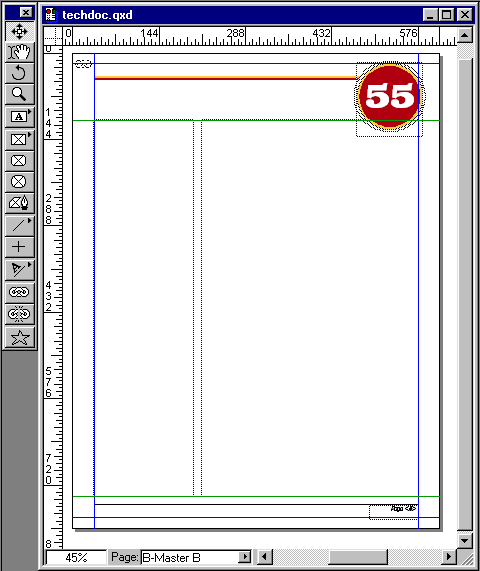
119. Shown below is the finished master page. The masters
are now complete and we are ready to import and format
the text and place the images.