|   | 


                            |   
                             | 
                            Creating 
                              Neon Glow Type In Deneba Canvas 6 | 
                              | 
                             | 
                             | 
                           
                           
                             | 
                             | 
                           
                           
                             | 
                             | 
                           
                         
                         Note: This tutorial can be 
                          done in either Canvas 5 or 6. 
                         Creating neon glow type is very easy with Deneba Canvas 
                          using neon strokes. The strategy here is to create three 
                          layers and three objects - one on each layer. The font 
                          used is 124 point Hobo. It comes with the Canvas 6 package 
                          on one of the CDs. 
                           
                          1. Start with any new document. Open the Document Layout 
                          palette and click layer 1 to bring up the "New 
                          Layer" button (below left). Click the button twice 
                          to add two layers, then activate layer 3 (below right). 


                        2. Using the Text tool   
                        , type the word "Wow!". Press Esc (Windows®) 
                        or Enter (Mac®) to end edit 
                        mode. The PC version has a blue bounding box outline... 
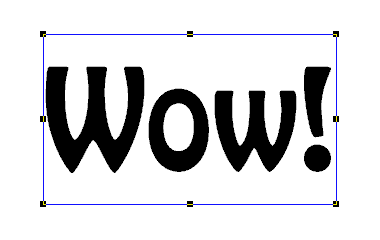


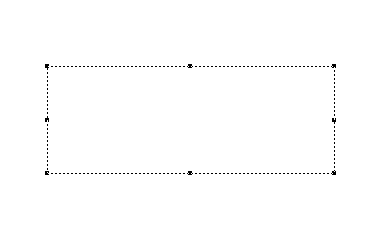
                        3.  Next click Object > Path > Convert To 
                        Paths then give it a fill of "No ink". The 
                        Mac version has a dashed bounding box outline... 


                        4.Click Edit > Replicate using one copy with 
                        no offset. Next click Object > Arrange > Send 
                        to Layers and select layer 2 (below left). Tab-click 
                        to reselect, then replicate another copy with no offset 
                        and send it to layer 1  Make layers 1 and 2 invisible 
                        (below right more 
                        help here). 
                         Note: Because the object 
                          has a "No ink" fill, use Tab-Click to select 
                          it. An alternative is to marquee select the general 
                          area but if you use the preference "Select 
                          across visible layers" (in the "General" 
                          tab of the preferences dialog) you need to make all 
                          other layers invisible.   
                        
                         5. Open the Inks palette and using the RGB Bars, create 
                          two new colors (more 
                          help here).  
                        
                           
                            New Color 1 
                              New Color 2 | 
                            R=232, G=128, B=184 
                              R=255, G=232, B=240 | 
                           
                         
                        6. Open the Strokes palette to the "Neon" 
                          tab and click the triangle on the left side (the Configuration 
                          manager button - circled below left) to reveal the Configuration 
                          manager (below right).  
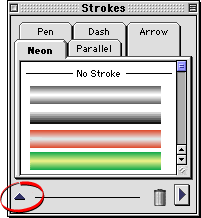
                        
                           
                              | 
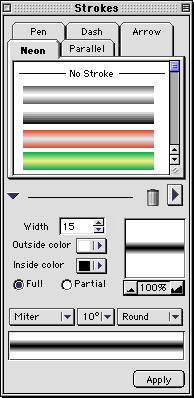
                              | 
                           
                           
                            | Strokes 
                              palette Configuration manager | 
                           
                         
                        7. Create two new neon strokes. The first is a narrow 
                          stroke with a width of 10 using new color number 1 as 
                          the outside color and white as the inside color. The 
                          second is a wide stroke with a width of 20 using new 
                          color number 2 as the outside color and new color number 
                          1 as the inside color. After completing each one drag 
                          it from the sample window at the bottom to the presets 
                          at the top to save it before creating the next one. 


                        8. Select the top object and give it a Pen ink of any 
                        color, then click the new narrow neon stroke and click 
                        the "Apply" button. 
                         
                        Note: The default Pen ink of 
                        the new type object is "No ink". Without assigning 
                        an ink color the neon stroke will not show. 
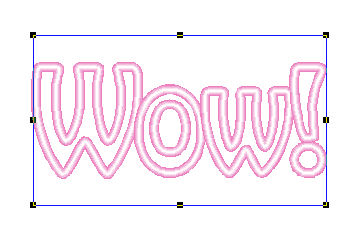


                         9. Activate layer 2 and hide layers 1 and 3. 
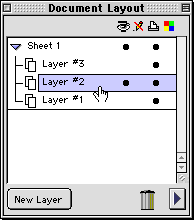


                        10. Select the middle object and give it a fill ink using 
                        new color 1. 
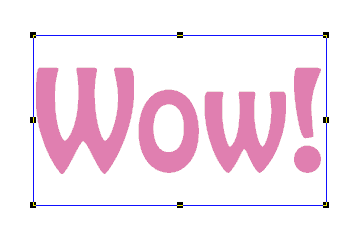


                        11.  Activate layer 1 and hide layers 2 and 3. 
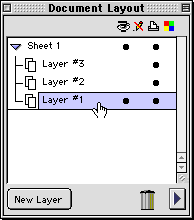


                        12. Select the bottom object and give it a Pen ink of 
                        any color, then click the new wide neon stroke and click 
                        the "Apply" button. 
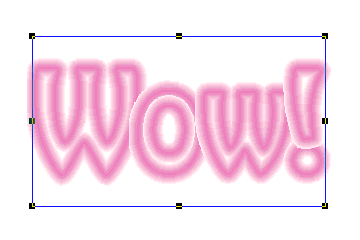


                        13. Make layer 2 visible to reveal the combined fill and 
                        stroke of the shadow objects. We used two layers to make 
                        it easy to make them, but we need to fix the areas where 
                        the layers overlap. Select one layer at a time and click 
                        Object > Ungroup. Then using the context menu, 
                        select the top and bottom "W" and click Object 
                        > Group. Repeat for letters "o" and "w". 
                        For the exclamation point, click Object > Path > 
                        Break Composite, then create separate groups for the 
                        dot and the vertical bar. 
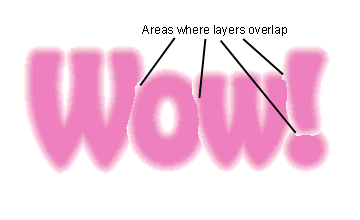


                        14. Regrouping them in the manner described in the previous 
                        step sends the new groups of objects to the bottom layer 
                        and layer 2 is no longer needed. 
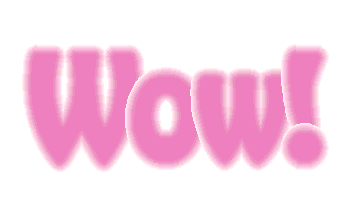


                        15. Make layer 3 visible again, then select the top object. 
                        Offset it up and to the left a bit using the arrow keys. 
                        The final image below was created by selecting all the 
                        objects across all layers and clicking Image > Area 
                        > Render using RGB at 72 ppi. 



                        Click 
                        Here To Continue...  | 
                        |