|
|
Transparent
Sphere Effect With Canvas™ 6 |
 |
|
|
|
|
|
|
I was looking at the sphere shapes in the opening graphic
when loading Canvas 6 and it inspired me to do the following
tutorial. With the integrated vector and bitmap environment
you can achieve a transparent sphere effect very easily
with Canvas 6. At Deneba's ftp site (ftp.deneba.com)
registered Canvas 6 users can obtain extra inks and
textures in the "Goodies" section. I downloaded
the goodies and found some nice looking sphere gradients.
One of the files from the RGB gradients is used in this
tutorial.
1. Using the Oval tool  Shift-Drag a new circle into the layout area. Use the
"No ink" for the fill and stroke. Then click
Edit > Replicate and choose one copy with
no offset. That makes two circles, one on top of the
other in the stack. The Mac®
version has a dashed bounding box outline...
Shift-Drag a new circle into the layout area. Use the
"No ink" for the fill and stroke. Then click
Edit > Replicate and choose one copy with
no offset. That makes two circles, one on top of the
other in the stack. The Mac®
version has a dashed bounding box outline...

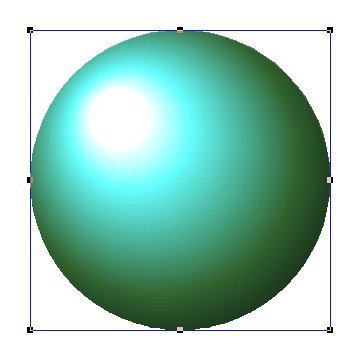
2. Bring up the Inks palette and load the file RGBspher.GRD
into the Texture inks (more
help here). Then click a fill gradient of your choice.
I chose the one shown under the mouse pointer.
3. Nice looking sphere for one click - eh? The PC version
has a blue bounding box outline...
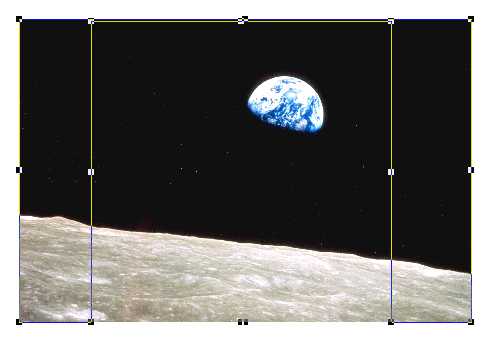
4. Now load a photo or line drawing of your own choosing
with File > Place. This one was from the NASA
web site called "beyond.jpg". Send it to the
bottom of the stack with Object > Arrange >
Send To Back. Then using the context menu select
the middle circle in the stack. Shift-click the photo
to select both the circle and the photo objects.
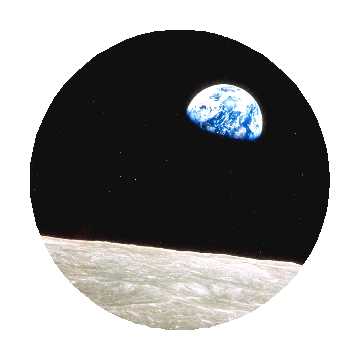
5. Next click Object > Clipping Path > Make.
That masks the photo to the shape, size and location
of the gradient filled circle at the top of the stack.
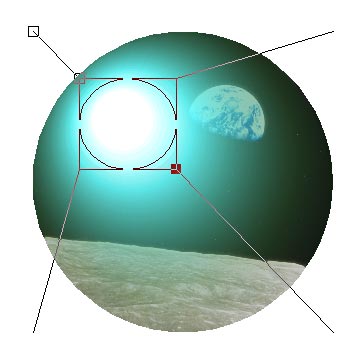
6. Next select the top circle. Using the Elliptical
Transparency tool  drag a vector transparency mask over it. Shape it so
the opaque area is over the highlight in the sphere.
drag a vector transparency mask over it. Shape it so
the opaque area is over the highlight in the sphere.
7. Next, you can render the composition as a bitmap.
Click Image > Area > Render. Select RGB
color in the dialog.
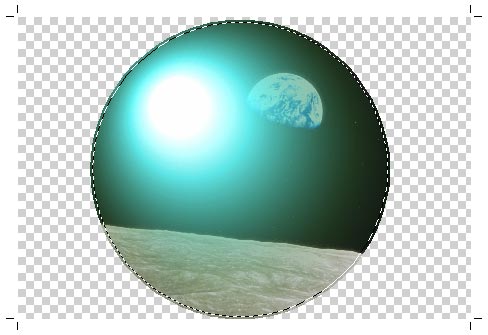
8. Click the new rendered object with the Wand tool
 to put it into edit mode. You can soften the edge of
the image by creating a circular selection marquee with
the "Anti-Aliased Canvas Objects" setting
in the Painting tab of the Preferences dialog (more
help here). Click anywhere in the transparent section,
then click Image > Select > Inverse. Next
click Image > Select > Modify > Contract
and contract the selection by 2 pixels. Next click Edit
> Copy, then Edit > Paste to place
a copy of it into the layout area.
to put it into edit mode. You can soften the edge of
the image by creating a circular selection marquee with
the "Anti-Aliased Canvas Objects" setting
in the Painting tab of the Preferences dialog (more
help here). Click anywhere in the transparent section,
then click Image > Select > Inverse. Next
click Image > Select > Modify > Contract
and contract the selection by 2 pixels. Next click Edit
> Copy, then Edit > Paste to place
a copy of it into the layout area.
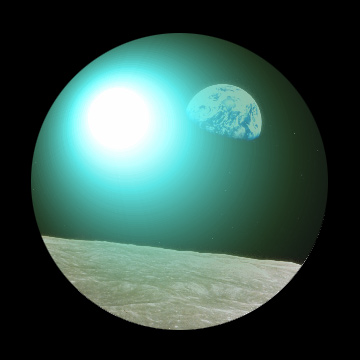
9. I like the look of it against a black background.
You can save it as a JPEG or PSD file or use it just
about any way you want.

Click
Here To Continue...
|