|
|
Canvas
6™ Technical Manual Project
Part 3B - Build The Document |
 |
|
|
|
|
|
|
Return
To Technical Manual Project Index
10. Position the text flow pointer inside the second
column of page two and click once.
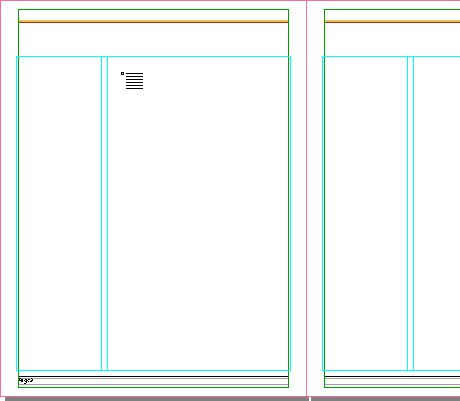
11. Canvas creates a second text object that is linked
to the first. There is still more text than will fit
in the text object. The pointer has changed back into
the Selection tool pointer so you can continue flowing
text into new text objects.
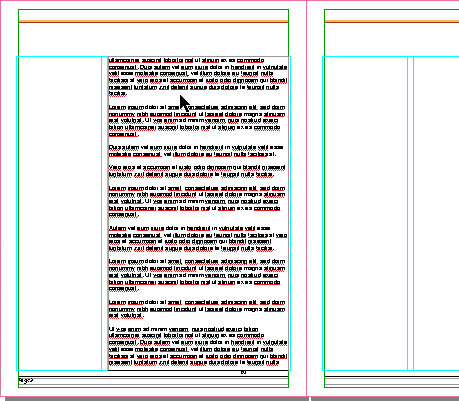
12. Again, click the text overset indicator at the
bottom of the text object.When the pointer changes into
the text flow pointer, position it over the second column
on page three and click once.
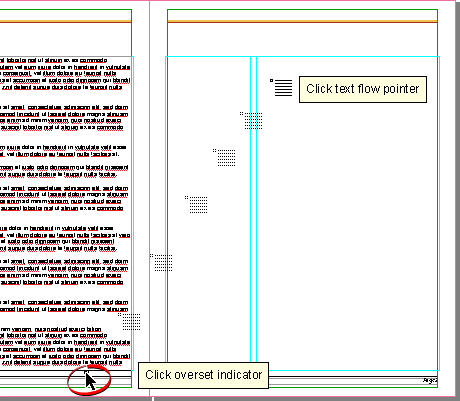
13. Canvas creates an additional text object that is
part of the linked text flow. By now, you can see the
advantage in setting up the column guides. They control
the placement of the text objects so they will be created
in the exact same position on each page.
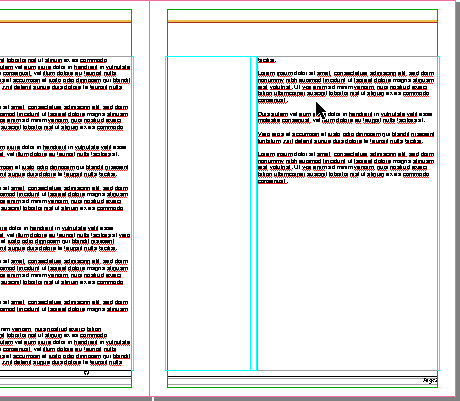
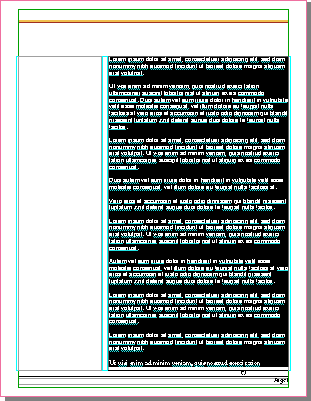
14. Select the Text tool  and click once in a text object on any page containing
text that is part of the linked text flow. In this case
we are on page one. We want to format all the text at
once. Click Edit > Select All to select all
the text in the linked text flow. The text will appear
highlighted.
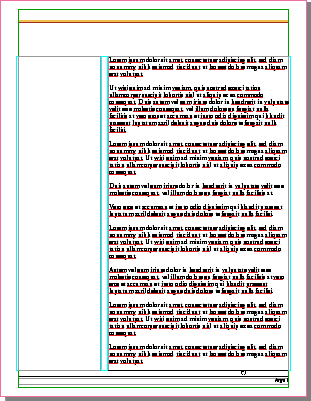
15. Bring up the Type palette and change the font to
14 point AGaramond (below left). Click the "Paragraph"
tab and choose Leading line spacing of "Points"
at 14 points per line (below right).
16. Alternately, click Layout > Display >
Show Text Ruler and use the Text Ruler to format
the type. Use whichever method you want.

 |
|
Tip:
A good rule of thumb is to set the leading to the
same number of points as the point size of the type.
In this case we have a 14 point typeface with 14
points of leading. |
17. All the the body text will be formatted to 14 point
AGaramond with 14 points of leading.
Click Here To Continue...
|