|
|
Improving
Image Quality When Rendering Canvas™ Paint
Objects - Part One |
 |
|
|
|
|
|
|
This is a trick you can use to improve image quality
when rendering paint objects in Deneba Canvas.
In Canvas I will often create a vector
drawing and render it as a bitmap. I have discovered
that image quality can be significantly improved by
first rendering at twice the intended resolution, then
downsampling the paint object to half the original resolution.
The resampled rendering will look better than the first
when this is done.
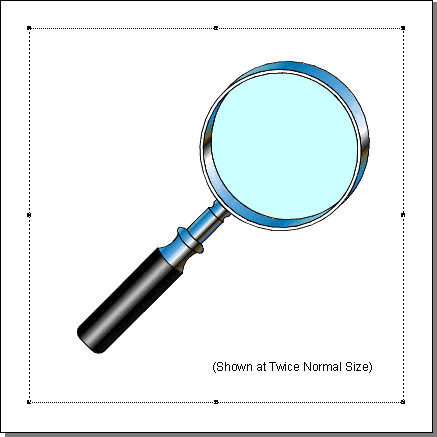
Shown below is an image of a Canvas 7
clip I created that you can use to do this tutorial.
1. Open the Canvas document, then select the vector
object group. It is shown at twice the normal size to
emphasize the rendered pixels in the subsequent screen
shots.

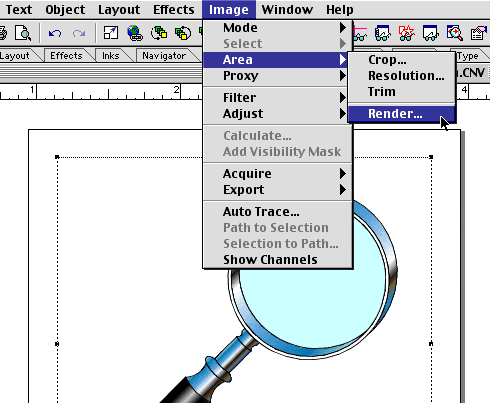
2. Click Image > Area > Render... to create
a new paint object.

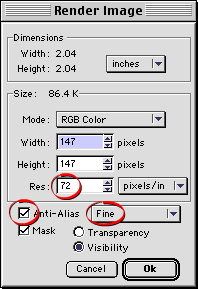
3. You will see the Render Image dialog. The image
will be used for a screen presentation so the resolution
of the final rendering should be 72 ppi (more
here on resolution). Enter 72 in the "Res:"
box and put a check mark in the "Anti-Alias"
check box. Also choose "Fine" anti-aliasing
from the drop-down box. The settings are all shown circled
below. Optionally, check the items for a visibility
mask (shown below, but not circled). Click "OK"
to render the paint object.

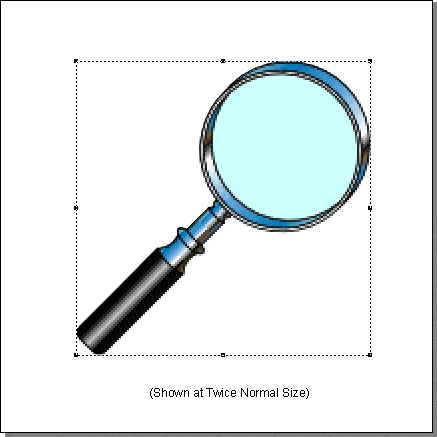
4. The new paint object will appear exactly on top
of the vector drawing.

Click
Here To Continue...
|