|
|
Making
a One-Pixel Brush In Photoshop® |
 |
|
|
|
|
|
|
Here's a quick and easy tip for Photoshop. Have you
ever wanted to erase one pixel at a time and chose the
smallest hard-edged brush, only to find that you were
getting soft edges in the surrounding pixels? When you're
working with really small images like icons, what you
need is a one-pixel brush. It is very easy to make.
1. First, create a new image. Then use the Rectangular
Marquee Tool and drag out a one-pixel square selection.
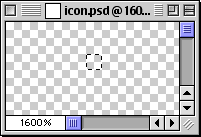
2. Flood fill it with black...
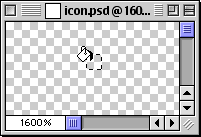
3. Don't deselect anything yet...
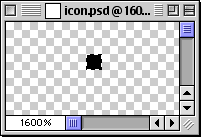
4. Next click the small triangle in the upper right
corner of the Brushes Palette to access the options
menu. Choose "Define Brush" from the menu.
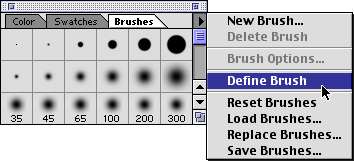
5. Photoshop adds a new brush to the palette. Double-click
on the new brush to access the brush options dialog.
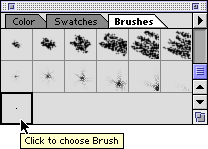
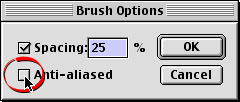
6. Photoshop will anti-alias new brushes by default.
Un-check the "Anti-aliased" checkbox.
7. To test your new brush, choose the Eraser Tool in
the toolbox.

8. I like to set my painting brush cursors to the brush
size. To do this click File > Preferences >
Display & Cursors and select "Brush Size"
from the Painting Cursors section. Position the brush
over a pixel...
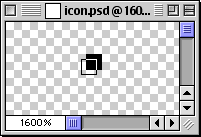
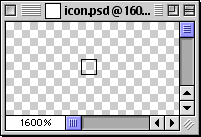
9. Click to erase. It leaves no fuzzy edges.
|