|
|
Vectorize
a Logo From an Image |
 |
|
|
|
|
|
|
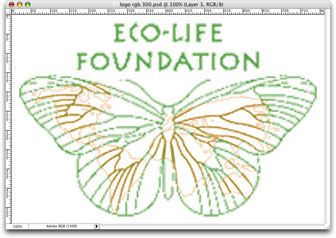
14. Here you can see the result of the first removal
of orange color. There are hints of it left as light
colored edges ... we will go after these in the next
round of color selection. This is a gradual process.
It's too much to try to get it all at once, so you
have to approach it a little at a time to avoid losing
some of the pixels in the areas we are trying to preserve.
15. Next, make sure Layer 3 is still selected, then
click Select > Color Range to bring up
the Color Range selection dialog again. Below is
another QuickTime® movie that demonstrates additional
technique to accurately select only the pixels you
want. In this round of color selection, we want to
use less "Fuzziness" to keep from selecting the areas
where the green color mixes with the orange color.
Use the various selection previews by choosing them
from the Selection Preview drop-down menu at the
bottom of the dialog. This will help visualize what
is being selected.
16. Below is a close up of the selected pixels.
17. Just as we did in a previous step, we want to copy
the selection, then paste it as a new layer. Simply
click Ctrl + C (Windows®) or Cmd + C (Macintosh®),
followed by Ctrl + V (Windows) or Cmd + V (Macintosh).
Again, note the new layer in the Layers Palette.
It is "Layer 4".
Click
Here To Continue...
|