|
|
Vectorize
a Logo From an Image |
 |
|
|
|
|
|
|
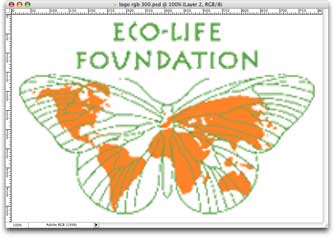
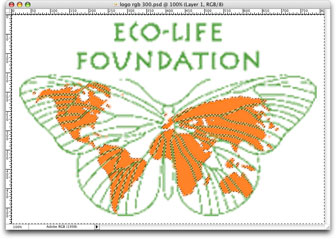
10. The image will enlarge and new pixels will be
created to "fill in" the areas added in the upsampling
process.
 |
|
Note: Photoshop® will
allow you to upsample an indexed color image,
but please bear in mind that an indexed color
image has
a maximum of 256 colors while a true color
RGB image has
over 16 million colors. When you upsample
a true color RGB image there will be more intermediate
colors to fill in the areas of new pixels than
with indexed color. In this tutorial we need
the extra colors to provide better lines to
trace with Adobe® Streamline® (the
tracing program). |
11. The next step is to separate the colors of the logo. First we will strip
out all the orange color to leave only the green color. We will use the Color
Range Selection Tool in Photoshop® to accomplish this because it is very
interactive and we can cut away the orange in chunks a little at a time.
Start by selecting the layer that contains the artwork (not the white layer).
Click Select > Color Range. Below is a QuickTime® movie showing
you how to do this step. (If you don't have the free QuickTime® player
installed, you can download it from Apple® here). Play the movie by clicking
the start arrow in the control bar.

12. When you exit the Color Range dialog after making
your selection, you will see the familiar "marching
ants" pattern of the selection marquee. Next, we
want to copy the selection, then paste it as a new
layer. Simply click Ctrl + C (Windows®) or Cmd
+ C (Macintosh®), followed by Ctrl + V (Windows)
or Cmd + V (Macintosh).
In the previous step, we inverted the
selection. This will copy everything except the
orange.
13. Please note that in the Layers Palette, there will
be a new layer (Layer 3 in the example graphic below).
To view this new layer by itself, simply click the
layer visibility icon (the little "eye" icon to the
left of the layer thumbnail) on Layer 1 in the Layers
Palette to toggle visibility off for this layer for
the moment.
Click
Here To Continue...
|