|
|
| |
|
|
 |
| |
| |
|
Intermediate |
|
| |
|
|
Photoshop®
Custom Textures - Part Two |
 |
|
|
|
|
|
|
Customizing The Sandstone Texture
This second tutorial on the subject of custom textures
shows how to take further advantage of the use of custom
textures via the command:
Filter > Texture > Texturizer > Load Texture
Creating a new adjusted texture from a default texture
is the topic of this tutorial. You may ask, "Why
would I need to adjust a default texture provided by
Photoshop® ?" The images
below illustrate the point:
Both images have the sandstone texture applied to their
backgrounds. However both images have custom textures
applied. The image on the left has a more coarse version
of the sandstone texture and the image on the right
has a finer version. Short of making your own custom
textures there is only one way to accomplish the above
effect:
Resample the image up then apply the default
texture for a more fine appearance, or...
Resample the image down then apply the default
texture for a more coarse appearance.
 |
|
Note: Although
the filter has a "Scaling" feature which
allows you to vary the coarseness of the texture,
this tutorial provides a means to vary the texture
outside the limits of the scaling range. |
It is undesirable to resample the image, then apply
the texture, then resample the image again to its original
size because the image will lose data in the process.
So here is how you do it.
1. For this exercise we will make two RGB images each
having a resolution of 72 pixels per inch. Make one
2" x 2" and one 8" x 8":
2" x 2"

2. Set the foreground color to a medium gray (Red=128,
Green=128 and Blue=128), then flood fill both images
with the medium gray foreground color. Next apply the
default sandstone texture to each image:
Filter > Texture > Texturizer > Sandstone
Then select:
Scaling=100%
Relief=7
Light Direction=Top
Then Click "OK".
3. Next duplicate the 8" x 8" image twice
with the command:
Image > Duplicate
4. You now have three 8" x 8" images and
one 2" x 2" image each filled with the same
texture. Maintain a resolution of 72 pixels per inch
and resample each image according to the following::
2" x 2" - resample to 4" x 4"...makes
the coarse texture
8" x 8" - resample to 6" x 6"...makes
a fine texture
8" x 8" - resample to 5" x 5"...makes
a extra fine texture
8" x 8" - resample to 4" x 4"...makes
an super fine texture
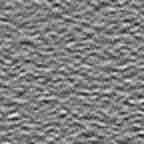
The finished textures are shown below:
Coarse
 |
Fine
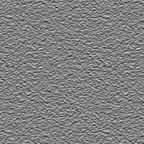 |
Extra Fine
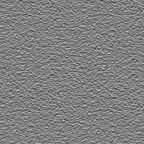 |
Super Fine
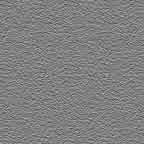 |
5. Name the image files:
SANDSTN1.PSD (Coarse)
SANDSTN2.PSD (Fine)
SANDSTN3.PSD (Extra Fine)
SANDSTN4.PSD (Super Fine)
6. To apply the new textures to an image click:
Filter > Texture > Texturizer > Load Texture
Load either SANDSTN1.PSD, SANDSTN2.PSD, SANDSTN3.PSD
or SANDSTN4.PSD. You can then apply any of the filter
settings as you normally would using the default sandstone
texture.
Click
Here To Continue... |
|
|
|
|
| |
Previous
Home
Contact Mike
Related Sites
Next
Copyright
© 1998-2016 Mike Doughty, All Rights Reserved Legal
Notices
Page Last Revised: October 26, 2016
Privacy Policy
|
|
|
|
|
|
|
|