|
|
PostScript® Printing Without a Printer- Windows®
XP - Part One |
 |
|
|
|
|
|
|
One of the most basic techniques in desktop publishing
is to print to a PostScript device in order create a
PostScript file. The resulting .ps (or .prn) file can
be distilled into an PDF file with Adobe® Acrobat®
Distiller® or opened in an illustration program like
Adobe® Illustrator®, Macromedia® FreeHand®,
CorelDRAW® or Deneba Canvas™. Once opened in
one of these programs the file can be edited or saved
as an EPS file which can be placed into your layouts
or used in a variety of different ways. This is a basic
technique for porting files using PostScript.
Note: If you plan to print
TrueType® fonts using a PostScript printer
in Windows, please
see this very important tutorial on avoiding
font substitution. Click
here for a tutorial on how to configure the
PostScript printer to avoid font substitution.
This tutorial is for Windows XP. For setting up a PostScript
printer in Windows 98 see
this tutorial.
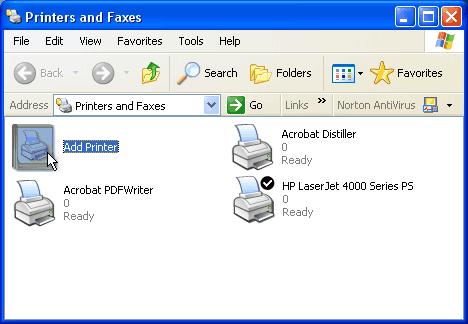
1. Start by clicking Start > Printers and Faxes.
You will see a folder with all your installed printers.
Click the "Add Printer" icon.
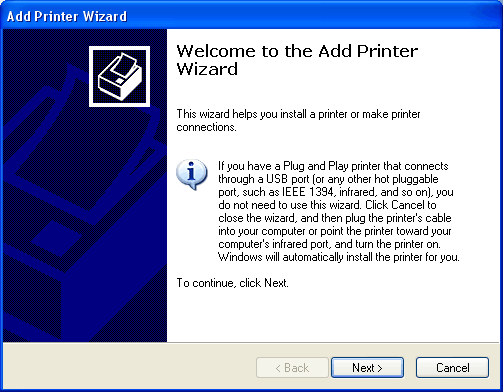
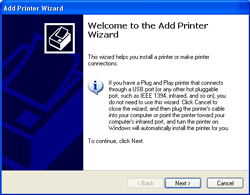
2. This will start the "Add Printer Wizard"
 |
|
Just follow the prompts in the wizard. Click the
"Next" button. |
| Click
thumbnail image for larger view |
|
|
Click
Here To Continue...
|