|
|
FreeHand®
Drawing Technique No. 2
Part B |
 |
|
|
|
|
|
|
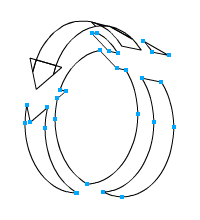
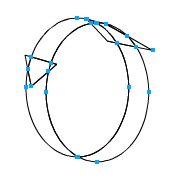
8. When you use the divide path operation,
sometimes it will create composite objects. Click Modify
> Split to break the composites because we want
to select each object individually. Your example should
then look something like the one below.
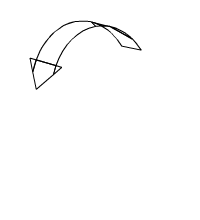
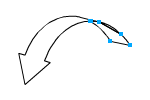
9. Select the objects shown below left
and click Edit > Clear or press either the
Delete or Backspace key. The remaining objects are shown
below right.
10. All that remains is to recombine the
remaining objects into closed paths with different color
fills. Start by selecting the objects shown below left.
Next click Modify > Combine > Union. The
result should be similar to the example below right.
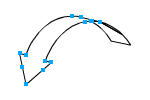
11. There are a couple of extra points
you can get rid of. These are shown selected below left.
When a point is selected it appears as a hollow square.
Press the Backspace or Delete key to ditch the points.
The result should look like the example below right.
There are more extra points on these paths, but there
is no sure fire way to delete them without altering
the shapes of the paths. Just leave them.
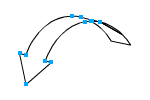
12. Select the remaining objects as shown
below left and click Modify > Combine > Union.
The result should be similar to the example below right.
The path operations are now complete.
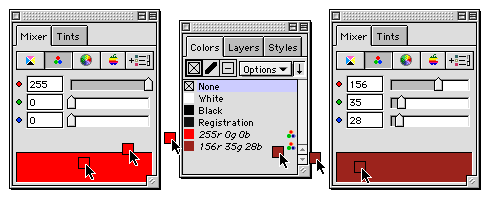
13. Next bring up the color mixer and
select the RGB color model (its button is shown depressed
below left). Create one color using 255, 0, 0 for the
RGB values, respectively. Then drag a color chip from
the mixer into the Color List (below middle). Similarly
make a second color using 156, 35, 28 for the RGB values,
respectively. Drag another color chip into the Color
List for this color as well.
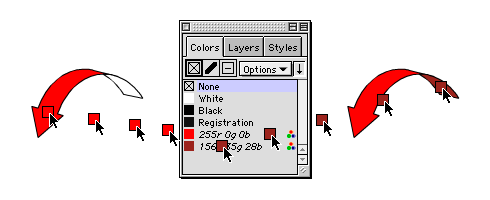
14. Drag the red color from the Color List into the
fill of the left object (below left). Next drag the
reddish brown color from the Color List into the fill
of the right object (below right).
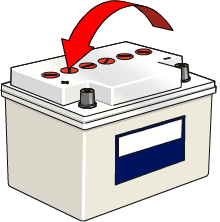
15. The finished result is shown below. This is just
one of many techniques (or strategies) you can use to
create drawings with FreeHand.
|