|
|
| |
|
|
 |
| |
| |
|
Intermediate |
|
| |
|
|
Defringing
Unwanted Halos In Photoshop®
Part Two |
 |
|
|
|
|
|
|
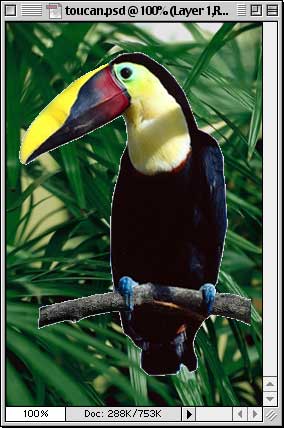
3. While holding the Shift key, drag the layer from
the background image onto the document window of the
toucan image. Release the mouse button before releasing
the Shift key. This will place the background into the
target image in exactly the same position as it was
in the source image.
| |
|
|
 |
|
Tip:
If both images are the same dimensions, holding
the Shift key while dragging and dropping a layer
from one image to another will place it exactly
in the same position as the source image. |
4. The new background reveals the undesirable halo
around the image (below left). There are a number of
things that can be done to remove the halo, but the
most direct approach is to use the Defringe command.
In the Layers palette click the toucan layer to activate
it (circled below right) then click Layer > Matting
> Defringe...
Click
Here To Continue...
|
|
|
|
|
| |
Previous
Home
Contact Mike
Related Sites
Next
Copyright
© 1998-2016 Mike Doughty, All Rights Reserved Legal
Notices
Page Last Revised: October 26, 2016
Privacy Policy
|
|
|
|
|
|
|
|