|
|
FreeHand®
Cool Metallic Gradients
Part 3 |
 |
|
|
|
|
|
|
Creating a New Gradient: Step-by-Step
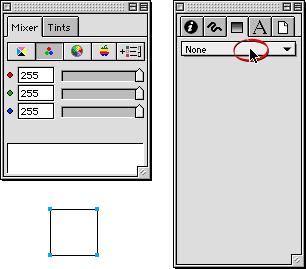
8. Create a small square with the Rectangle tool. Next,
bring up the Color Mixer and press the RGB button (below
left). Then bring up the Fill inspector and click on
the Fill Types drop-down (circled below right):

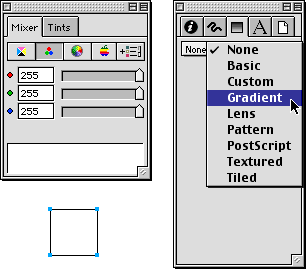
9. Select "Gradient" from the drop-down menu.

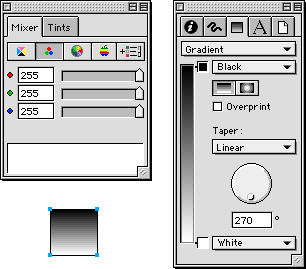
10. FreeHand will assign a default gradient. Note that
the selected object displays the new gradient fill.

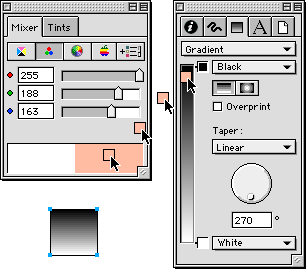
11. In this case we will be making the "Copper
Curved 2" gradient. Start with the top color. Enter,
255, 188 and 163 in the R, G and B boxes, respectively
(below left). Then use the Eyedropper tool to drag a
color chip from the newly created color display onto
the top color well in the Fill inspector.

Click
Here To Continue...
|