|
|
FreeHand®
Drawing Technique No. 4
Part C |
 |
|
|
|
|
|
|
Reshaping The Basic Box
 |
|
Note: Copy
the box made in the previous steps if you want to
save it. Click Edit > Select All followed
by Edit > Clone, then drag it away from
the first one. |
20. As shown in a previous step, position
the mouse pointer over the corner point of one of the
rectangles until you can see the small square next to
the pointer (below left). Click and drag it to reshape
the rectangle (below right).
21. Repeat the above steps for the left
rectangle until the desired width is attained...
22. Click and drag the lower point until
it snaps to the corner point of the right rectangle.
23. Next click and drag the upper right
corner point of the top rectangle until it snaps to
the rectangle below right.
24. Repeat the above steps on the opposite
corner point of the top rectangle until it snaps to
the lower left rectangle.
25. Now you have a new box with the same orientation
as the first.

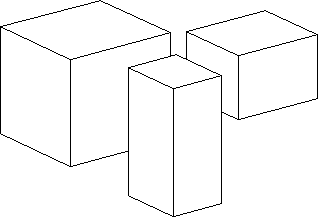
26. Here is an example of a composition made using
the previous steps...

27. And here is another example. As you can see by
the keyline view on the right, this drawing is simply
a collection of cloned rectangles.
|