|
|
FreeHand®
Drawing Technique No. 1
Part C |
 |
|
|
|
|
|
|
19. Select all objects.
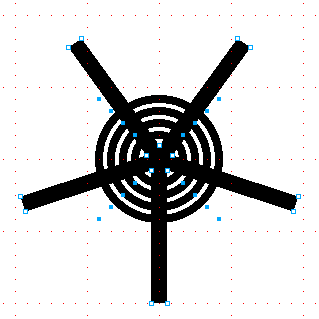
20. Next click Modify > Combine > Punch.
This will create a series of composite objects from
the original shapes.
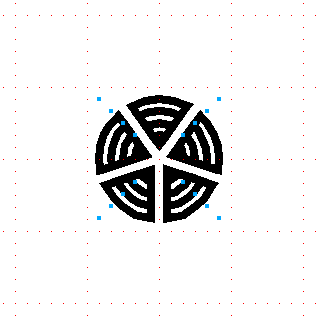
21. While the new composite objects are still selected,
click Modify > Split. This will separate the
composites into individual closed paths. We will need
to open all the closed paths so put the drawing into
Keyline mode to make it easier to work with them. Each
of these shapes has three line segments. In each of
these closed paths we need to delete two of the three
segments leaving only one open path remaining. Note:
Some of the closed paths have an additional segment
due to the fact that each circle was comprised of four
points. Since each circle was divided into five
parts, this accounts for the extra points and line segments
resulting from the combining of objects in a previous
step.
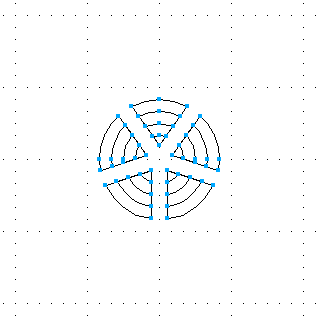
22. Select one of the closed paths. It doesn't matter
which one. Option+click (Macintosh®) / Alt+click
(Windows®) one of the segments to delete. You can
delete the segments one at a time or you can press Shift+Opt+click
/ Shift+Alt+click to select both segments at once. You
can tell that a line segment is selected because the
points will be hollow, not solid.
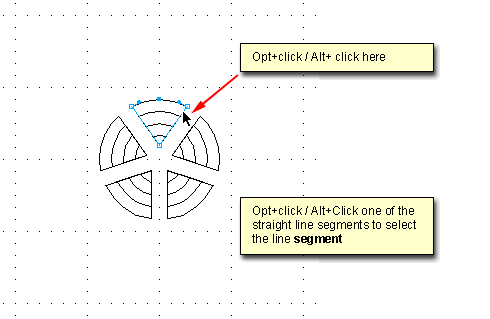
23. Press the Delete or Backspace key. What remains
is an open path in the shape of an arc.
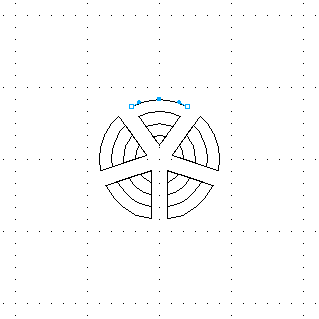
24. The previous steps need to be repeated for each
of the remaining closed paths. Select another closed
path in the section being worked on and select two of
the segments similar to a previous step.
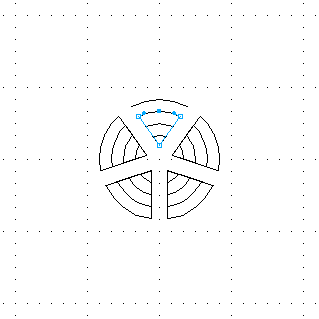
25. Once again, press the Delete or Backspace key leaving
an open path in the shape of an arc.
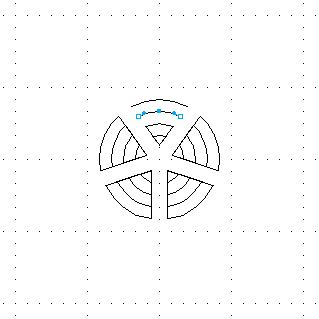
26. Repeat the previous steps for the remaining closed
paths in the section.
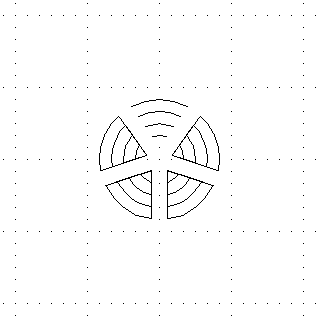
27. Continue to repeat the previous steps for each
of the remaining closed paths. Open them one at a time
so that only the arcs remain.
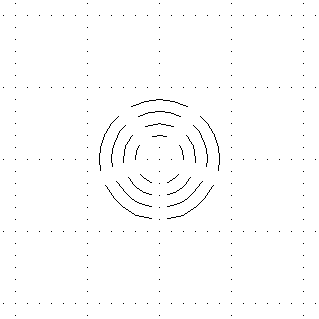
28. Switch back to Preview mode.
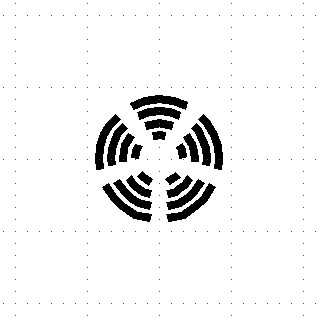
29. Select all of the arcs.
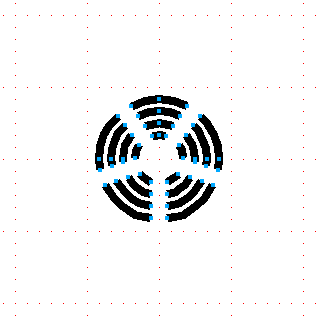
30. Once again, bring up the Stroke Inspector. Click
the round "Cap" button (circled below).
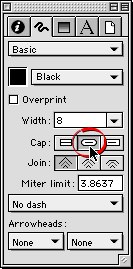
31. This will give a rounded cap to each path.
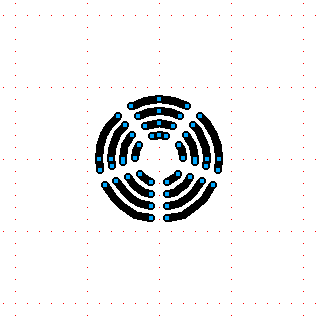
32. Finally, while all the paths are still selected,
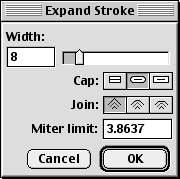
click Modify > Alter Path > Expand Stroke....
Each path is 8 points wide, so just click "OK"
to accept the defaults and close the dialog.
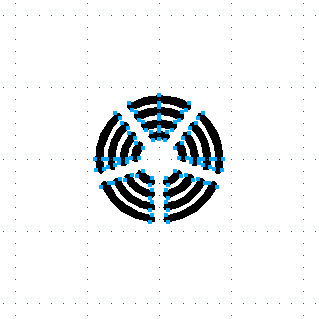
33. Each open path will convert to a closed path...
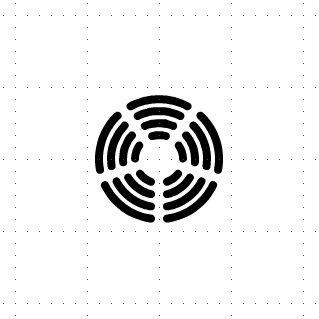
34. When you deselect everything, your workspace should
look similar to the example below.
|