|
|
FreeHand®
Drawing Technique No. 1
Part B |
 |
|
|
|
|
|
|
8. As soon as you click the mouse button
the pointer will change to a radial shape similar to
the screen shot below. Release the mouse.
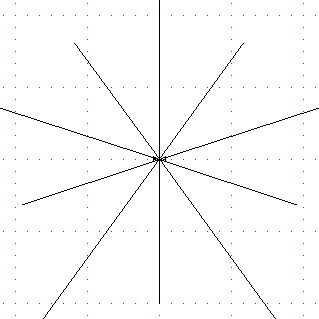
9. When you release the mouse button,
there will be five evenly spaced lines radiating from
a single point.
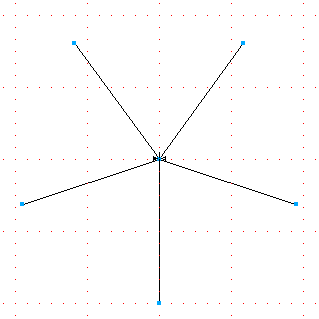
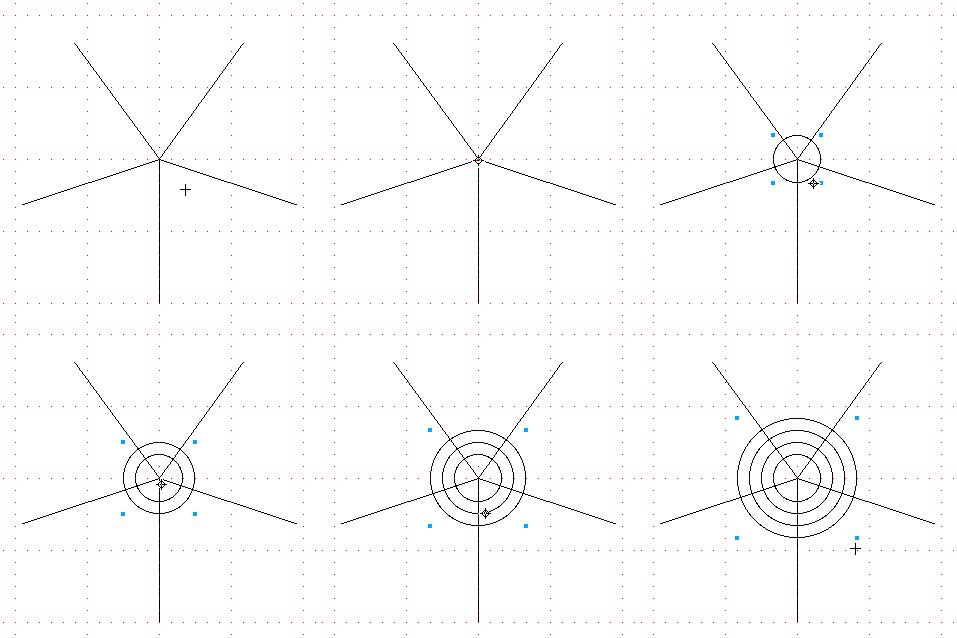
10. Select the Elipse tool and create
four concentric circles. For each circle, click on the
same grid intersection as before, then hold the Shift
and Option (Macintosh®) /
Alt (Windows®) keys while
dragging. Holding the Shift key will constrain them
to a circular shape and holding the Option / Alt key
will draw the circles from the center point outwards.
The spacing of the circles will be even in this tutorial
because we are using a grid. The exact specifications
in a drawing you may do may call for a different spacing.
For simplicity we'll use the grid spacing in this tutorial.
11. Select the five radiating lines.
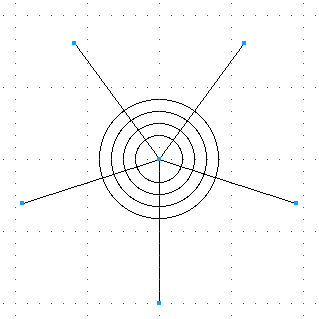
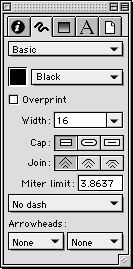
12. Bring up the Stroke Inspector. The required width
for the stroke will be unique for each situation, but
for this tutorial we'll use a stroke of 16 points.
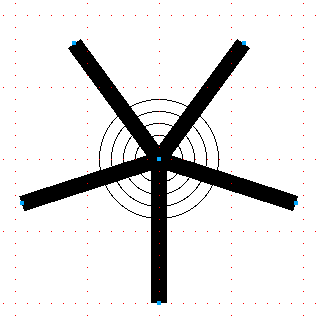
13. This will fatten the lines to create the necessary
spacing between the arcs that form the grate.
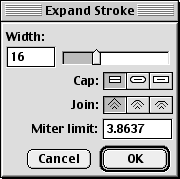
14. FreeHand requires closed paths when combining objects.
One quck way to do this is to expand the stroke of the
five lines. Click Modify > Alter Path > Expand
Stroke.... In the dialog click "OK" and
, accept the width of the lines (16 points in this case).
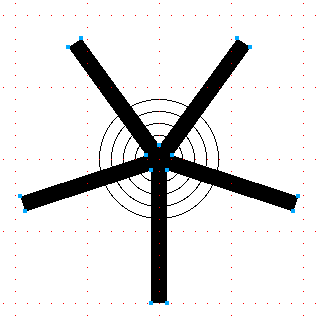
15. Next, combine the five separate closed paths into
a single closed path by clicking Modify > Combine
> Union.
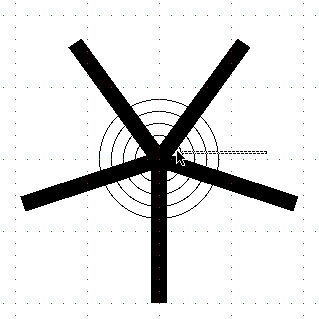
16. Now select the four concentric circles. If you
are using FreeHand 9 you can double-click the Pointer
tool and set it up to be Contact Sensitive. By doing
so you can easily select all four circles at once by
dragging the Pointer tool in a manner similar to the
screen shot shown below.
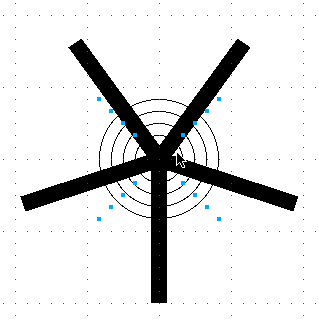
17. When the four concentric circles are selected,
your screen should look similar to the example below.
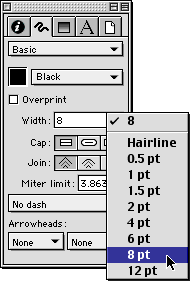
18. Once again bring up the Stroke Inspector and choose
a stroke width of 8 points for the circles. The exact
specifications of a drawing you may be making may require
a different stroke, but for this tutorial we will use
8 points.
Click
Here To Continue...
|