|
|
Deneba
Canvas™ 6 Transparent Drop Shadow - Part One |
 |
|
|
|
|
|
|
Please see this
page for full explanation on transparent drop shadows.
The transparent drop shadow effect can easily be done
using Deneba Canvas 6. Start by creating a new illustration
document. The strategy is to create three objects -
one for the type, one for the shadow and one for the
background. Put each on its own layer and switch between
layers for editing. This can also be done on a single
layer in one stack, but it is shown here using layers
partly because there is an optional step on the next
page where using layers would be a little easier.
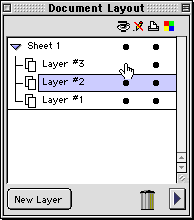
1. Bring up the Document Layout palette and click the
plus sign to reveal the default layer (below left).
Activate layer 1 then click the "New Layer"
button twice to add two more layers. Next click layer
3 - the top layer- to activate it (below right).
2. Use the Text tool  and type the desired text. Keep it black for now.
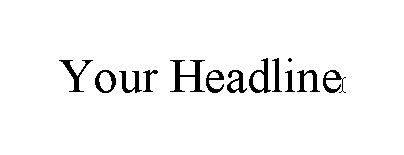
3. Then click Image > Area > Render and
in the dialog (below left), choose RGB, 72 ppi with
a visibility mask, then click "OK". Then click
Object > Arrange > Send to Layers and select
layer 2 in the dialog (below right). That sends the
rendered object to layer 2.
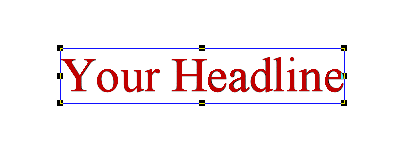
4. Double click the top object, select all the text
and give it a fill ink color of your choice. You now
have two objects - the top text object on layer 3 and
the bitmap object under it on layer 2 which will become
the shadow.
5. In the Document Layout palette, activate layer 2
then click the visibility bullet on layer 3 to hide
it.
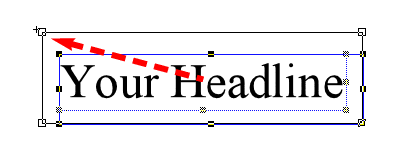
6. Select the rendered type on layer 2 and Ctrl-Drag
the handles to expand the object. It needs room to diffuse
when we blur it.
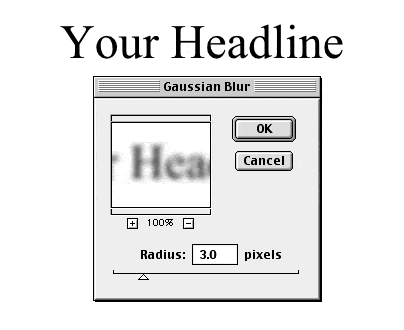
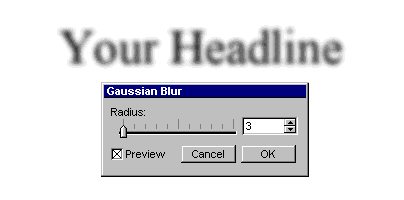
7. Click the object with any painting tool to place
it in edit mode, then click Image > Filter >
Blur > Gaussian Blur. Choose 3 in the dialog,
then click "OK".
In the Mac® version of the
dialog there is a preview pane...
In the Windows® version if
you check the "Preview" box, you can see the
effect on the entire paint object before you click "OK"...
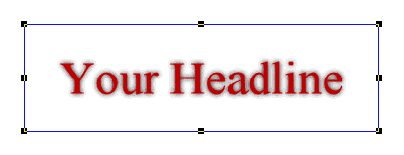
8. The shadow object is finished, but it lies directly
behind the type object. It needs to be offset.
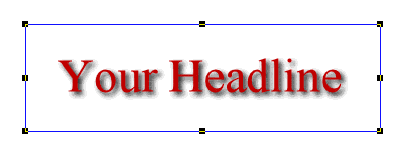
9. To offset the shadow, click the right arrow 3 times
and the down arrow 3 times. It's shaping up. One more
object to go.
10. For the background object, you need the background
tile for the web page on which it will be displayed.
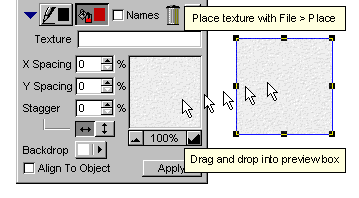
Click File > Place and load the image onto
the page. Drag and drop the image into the Texture manager,
then drag and drop the new ink from the preview box
into the grid with the other texture inks. more
help here
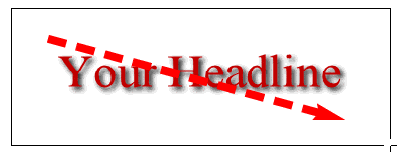
11. Activate layer 1 (the bottom layer). Use the Rectangle
tool and drag a new background object around the type
and shadow objects.
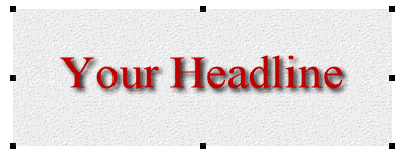
12. Click the fill ink icon and apply the new texture
ink to the object.
At this point you can export
it as a GIF or JPEG image. The remaining steps are
optional to setup the image for export as a GIF with
the excess background pixels trimmed away.
One Advantage to using Canvas for this effect is that
the text is a vector object. This composition can be
output on print media and the type will render perfectly
as PostScript® outlines.
Click
Here To Continue...
|