|
|
Applying
a Gradient Across Multiple
Objects In Canvas™ - Part One |
 |
|
|
|
|
|
|
When applying gradient fills to objects in Canvas,
each object will have the full range of the gradient
applied to it. However, this may not be the effect you
want to create. Sometimes you may want the gradient
fill to be shared across multiple objects. The way to
do this is to apply the gradient to a composite path.
The example in this tutorial uses Canvas 7 on a text
object that has been converted to paths.
1. Start by selecting the Text Tool  and click anywhere on the layout area.

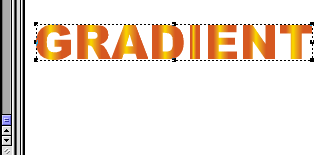
2. Type some text. In this example we will type the
word, "GRADIENT". The font is Arial Black.

3. Click Object > Path > Convert To Paths.

 |
|
Note: Although
a gradient will be applied across a text object
by default, the point of this tutorial is to show
how to apply a gradient across multiple objects.
This is why the text object is converted to paths
in this example. |
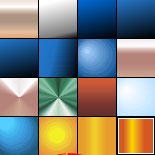
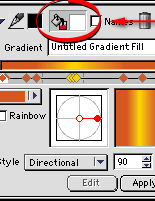
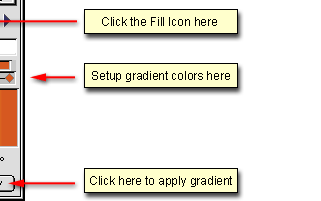
4. Bring up the Inks palette and press the fill ink
icon (circled below). Then either setup the gradient
colors from scratch or use one of the preset gradients
in the Inks palette. Click the "Apply" button
to apply the gradient. Notice how each letter has the
full gradient applied to it.
Click
Here To Continue...
|