|
|
Canvas™
7 Aqua Button Tutorial
Part Eight |
 |
|
|
|
|
|
|
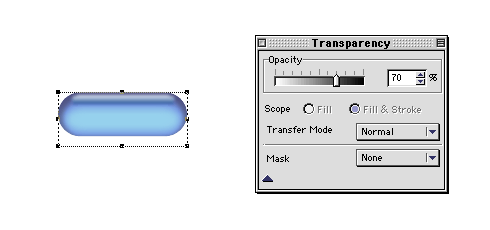
32. Select the clipped group of rectangles (not the
highlight object) and bring up the Transparency palette.
Set the opacity to 70%.
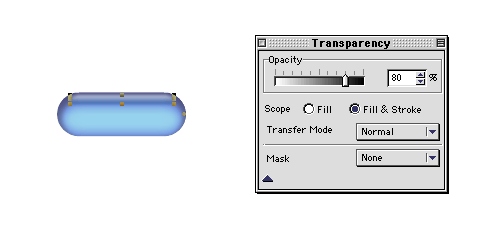
33. Next select just the highlight object by itself
and bring up the Transparency palette again. Set the
opacity to 80%. You can vary this depending on the results
you get.
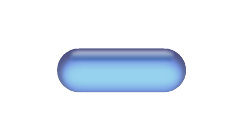
34. Your example should look similar to the one shown
below.
35. As a final touch, we will add some text to the
button. Bring up the Text palette or click Layout
> Display > Show Text Ruler. In the Text Ruler
you can pick a font and point size. In the example below
I chose 24 point Generic Tech (circled below). You can
download this font for free on the "G" pages
in the font archive
right here at Mike's Sketchpad.

36. Select the Text tool and type some text.
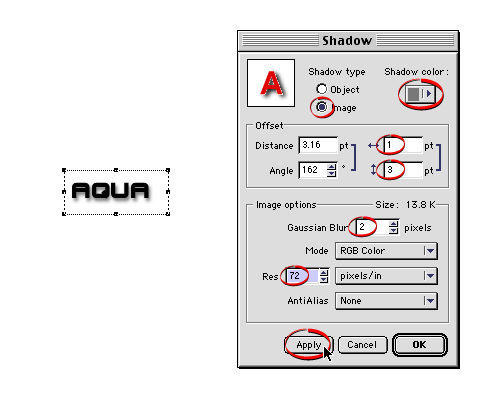
37. Click Effects > Shadow... and in the
dialog, enter the specs shown circled below. Make the
shadow an image object and choose a gray color from
the pop-up color palette (circled below top). Click
"Apply" when done. The shadow effect should
appear similar to the one below left.
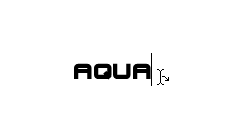
38. Group the text and its shadow object and position
it on the button similar to the example shown below.
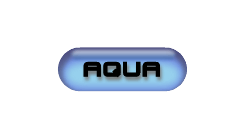
This is the finished button. The shadow angle gives
the illusion that it is being cast on the backside of
the button. Click
Here For Aqua Button Demo Page.
|