|
|
Canvas™
7 Aqua Button Tutorial
Part Seven |
 |
|
|
|
|
|
|
28. The starting and ending colors are done, but now
we need to change the shape of the gradient from "Radial"
to "Directional". Click the Style button (circled
below left). Choose the Directional style from the menu
(below right).
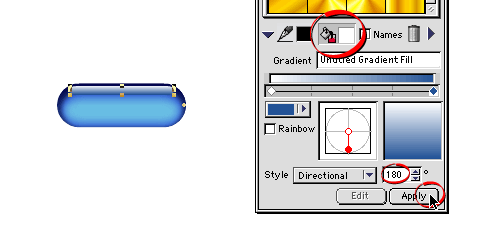
29. Make sure the highlight object is still selected.
In the Gradient manager, depress the fill icon (circled
below top). Next enter 180 in the degrees box (circled
below middle) to reverse the direction of the gradient,
then click the "Apply" button. The new gradient
will be applied to the highlight object. It should look
similar to the one below.

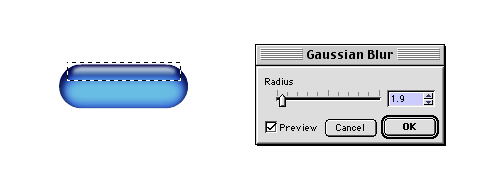
30. Now we want to apply a SpriteEffect™ to the
highlight object. Click Object > SpriteEffects
> Add Effect > Blur > Gaussian Blur, and
enter 1.9 pixels in the dialog. Click "OK"
when done.

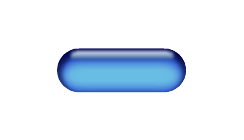
31. The gel button is pretty much finished, but we
can make it more transparent so background objects show
through.

Click
Here To Continue...
|