|
|
A
Rainbow of Illustrator® 9 Gel Buttons
Part 3B |
 |
|
|
|
|
|
|
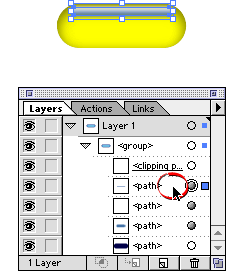
61. Change the RGB values of the color. In this case
we will make a yellow button. Use the RGB values for
"Object 1" of the yellow button shown in a
previous step and enter them into the RGB boxes in the
palette. In this case the RGB values are 128, 128 and
zero, respectively.
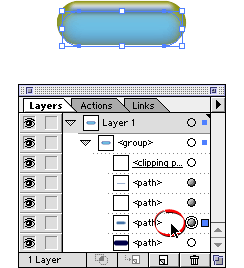
62. Opt+click (Macintosh®)
/ Alt+click (Windows®) the
layer name of "Object 2" in the Layers palette
to select it. The object's bounding box handles will
be active in the button.

63. Again, make sure the fill box is selected in the
Color palette. You will see the object's original color
values as in a previous step.
64. Enter RGB values of 255, 255 and zero, respectively.
65. Finally, Opt+click / Alt+click the layer name of
"Object 4" in the Layers palette to select
it. Once again, its bounding box handles will be active
in the button.

Click
Here To Continue...
|