|
|
Vectorize
a Logo From an Image |
 |
|
|
|
|
|
|
22. Below is the result of the Levels and Brightness/Contrast
adjustments.
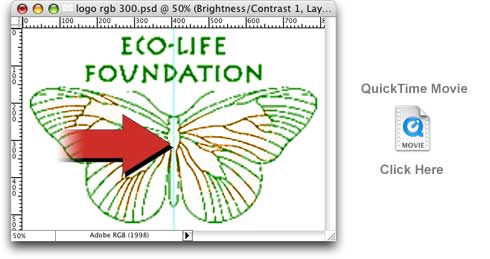
23. Next, drag out a guide to divide the image in half. We only need to trace
half of the image because it is symmetrical. View the QuickTime® movie
below to see how to drag out a guide.
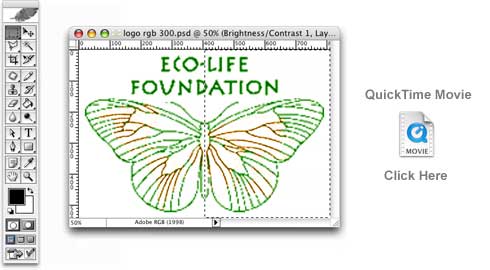
24. Next we want to select the right half of the image and copy it, then paste
it as a new image. Start by making the selection. View the QuickTime® movie
below to see how to make the selection.
25. Once you have made the selection, click Edit > Copy Merged. This
will copy the image data into the clipboard. You can also use the keyboard
shortcut Ctrl + Shift + C (Windows®) or Cmd + Shift + C (Macintosh®).
 |
|
Tip:
Use Copy Merged when you want to copy what
you see in the document window. It is a composite
of all the visible layers. Using Copy by itself
it would only copy the pixels of the active
layer, not necessarily what you see in
the document window. |
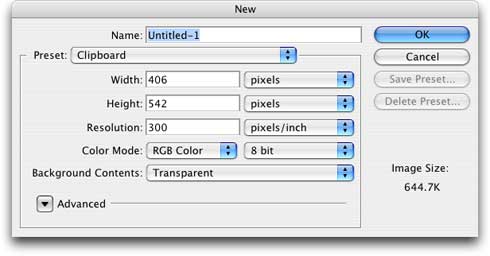
26. Next click File > New. Just accept
the image specifications in the new document window
and click the "OK" button.
 |
|
Note: When
you click File > New after having
copied data into the clipboard, Photoshop® knows
the specifications to make the image. |
Click
Here To Continue...
|