|
|
Vectorize
a Logo From an Image |
 |
|
|
|
|
|
|
Part VI: Assemble The Vector Logo
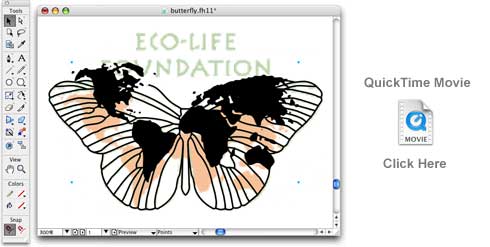
63. Next we want to add the vector map to the FreeHand
butterfly file (which is the logo in progress) then
place it in a new layer. Then we want to save the file
as a new file name. In this case we will call it eco-life
logo.fh11. Please view the QuickTime® movie below
to see how to do it step by step.
 
Commands used in the movie: Macintosh to Windows translations
| Macintosh |
Windows |
Command |
| Cmd+G |
Ctrl+G |
Group selected objects |
| Cmd+C |
Ctrl+C |
Copy |
| Cmd+V |
Ctrl+V |
Paste |
| Cmd+Spacebar |
Ctrl+Spacebar |
Zoom Tool |
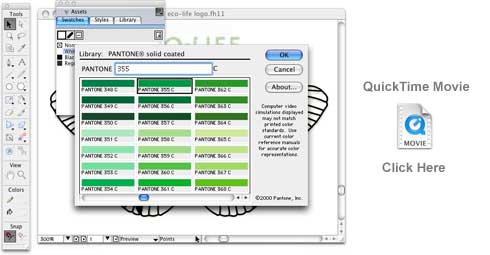
64. Next, we will create the PMS colors for the spot
color version of the logo using the standard PANTONE
library that comes with FreeHand. Then we will assign
the colors to the various objects and tweak the line
weight of the butterfly while we are at it. Please
view the QuickTime® movie below to see how to
do it step by step.

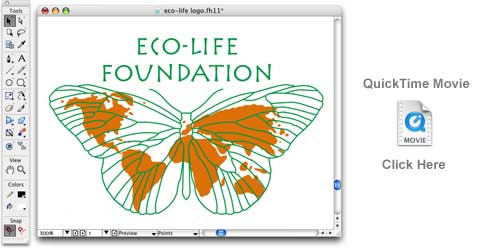
65. Next we want to add the text to the FreeHand logo file. First create a
create a new layer for the text, then add the text to this new layer. Please
view the QuickTime® movie below to see how to do it step by step.
 
Commands used in the movie: Macintosh to Windows translations
| Macintosh |
Windows |
Command |
| Cmd+Spacebar |
Ctrl+Spacebar |
Zoom Tool |
| Option+drag |
Alt+drag |
Clone selected object |
| Cmd+A |
Ctrl+A |
Select All |
66. Shown below is the before and after screen shots
of the logo. On the left is the original GIF image
and on the right is the finished vector logo. As
you can see, it's a pretty close match. I hope you
enjoyed this tutorial and found it useful. This was
a real world example of how to use a variety of software
and techniques to accomplish the desired result.
|