|
|
Cool
Traveling Lens Effect In Canvas™ 7
Part One |
 |
|
|
|
|
|
|
This is an easy effect that you can create
with Canvas 7 which takes advantage of Deneba's SpriteEffects™
technology. The basic idea is to create a text object
on a master frame then make a lens object and place
copies of it into successive frames, repositioning it
as you go. The document is setup as an animation document
and it is exported as an animated GIF. You can place
the lens object over any other kind of object (e.g.
a paint object or vector object) and produce a similar
effect. In this case we are using a text object.
At the end of this tutorial is a downloadable
Canvas 7 magnifying glass document which you can use
in place of the simple lens in this tutorial. So let's
get started!
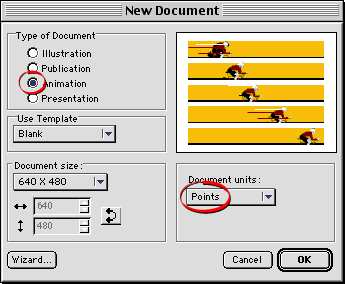
1. Start by clicking File > New.
In the dialog. select "Animation" as the document
type. Select "Points" for the document units
(circled below).

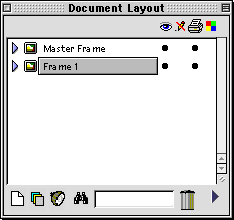
2. Bring up the Document Layout palette.
Canvas creates the document with a Master Frame and
a document frame called "Frame 1". Frame 1
will be the active frame by default (shown selected
below).

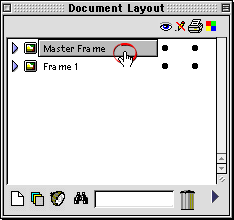
3. Click the Master Frame to make it the
active frame (circled below).

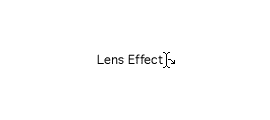
4. Using the Text tool  ,
click anywhere in the document and type some text. ,
click anywhere in the document and type some text.

Click
Here To Continue...
|