|
|
Quick
Crop Marks For Adobe® InDesign® Layouts
- Part Two |
 |
|
|
|
|
|
|
7. Click away to deselect everything.

8. If this is to be a color-separated job, you need
to tag all the page marks with the registration color.
This will ensure that the marks will print on every
plate. Using the Direct Selection Tool, select the reg
marks and tag each object with the registration color.
The reg marks have strokes and a fill to tag with the
color.
9. Shift-select all the crop marks together, then tag
the stroke with the registration color.
10. That pretty much does it. Remember that in this
case the page marks lie outside the page border and
will only print on a large enough image area. You can
copy everything and paste it on a larger page or you
can save the page as an EPS file to hand off to a service
provider. In this case I clicked File > Export
again only this time I chose EPS from the available
formats because I wanted PostScript® Level 2 output
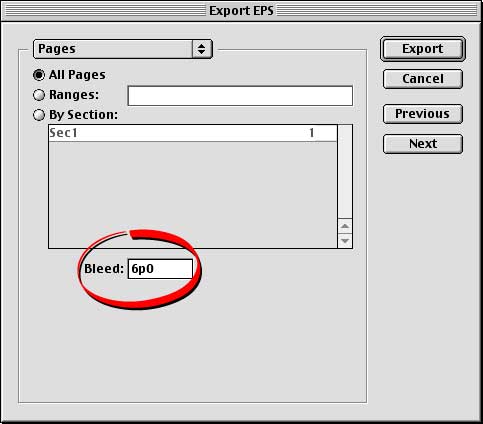
(InDesign only exports a Level 3 PDF). In the "Export"
dialog you must enter a bleed amount to extend the EPS
area out far enough beyond the page boundary in order
to include the page marks. I entered 6 picas in the
dialog (circled below).
11. Shown below is the exported EPS file loaded in
Illustrator. You can see the page marks outside the
defined page edge.
|