|
|
Wha's
UUUp! Type Effect With Canvas™ 7
Part Six |
 |
|
|
|
|
|
|
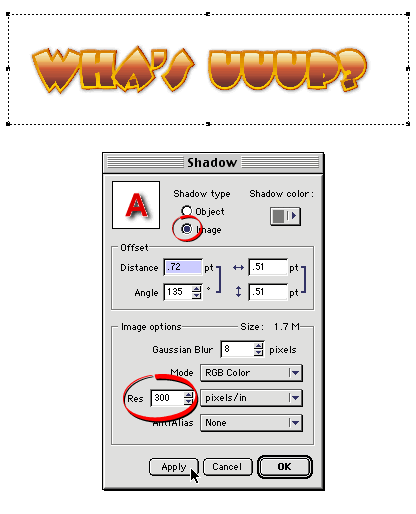
21. For a finishing touch we can add a soft shadow.
Canvas has a built-in effect for this. Click Effects
> Shadow... and use the settings shown in the
dialog,below. Choose "Image" for the shadow
type and 300 ppi for the resolution (circled below).
When you click "Apply", Canvas creates a new
shadow paint object underneath the text object.

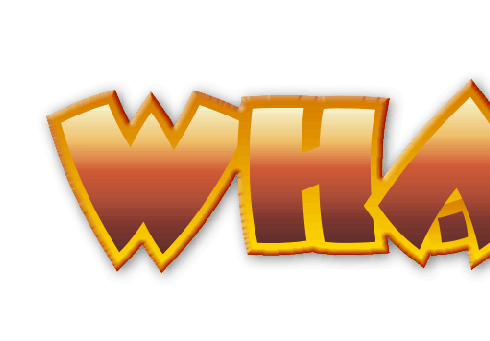
22. If you zoom in, the resulting effect can really
be appreciated. Once again, Canvas 7 comes through with
editable SpriteEffects™.

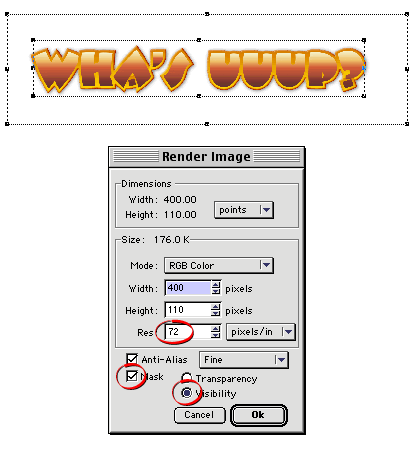
23. Although the text effect can be rendered at 300
ppi for print, you can also render it at 72 ppi for
screen displays. Simply select the text and shadow objects
and click Image > Area > Render or click
File > Save As then save the selection to
one of the bitmap formats (TIFF, PSD, BMP, PICT, etc.).
Either command will bring up the "Render Image"
dialog. We want a 72 ppi image with a visibility mask.

24. Here's the finished image at 72 ppi. You can also
render it at 300 ppi for print. The great thing about
this is that it will always render perfectly at any
resolution because the object that is being rendered
is text (not bitmap) which isn't committed to a fixed
grid of pixels.
|