|
|
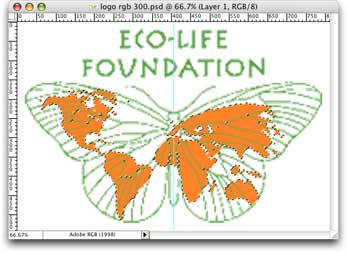
Vectorize
a Logo From an Image |
 |
|
|
|
|
|
|
47. In this step, most of the desired orange color
is selected. It will need a little manual cleanup with
the Polygonal Lasso.
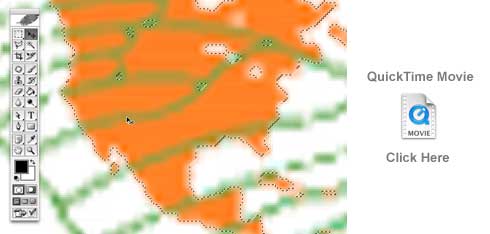
48. In this step, use the Polygonal Lasso to cleanup the selection so all the
orange color is selected for separation. Please view the QuickTime® movie
below to see how to do it step by step.
Commands used in the movie: Macintosh to Windows translations
| Macintosh |
Windows |
Command |
| Cmd+Spacebar |
Ctrl+Spacebar |
Zoom Tool |
 |
|
Note: After
you have made a complex selection, it would
be wise to save the selection as a new channel
then save the file. That way if you close the
file or have a power failure, the selection
won't be lost. Click Select > Save Selection then
click File > Save. |
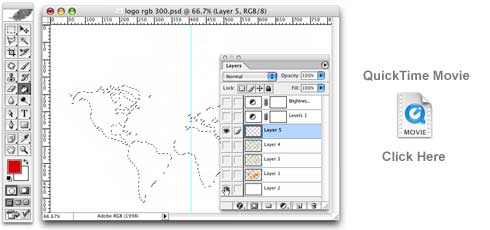
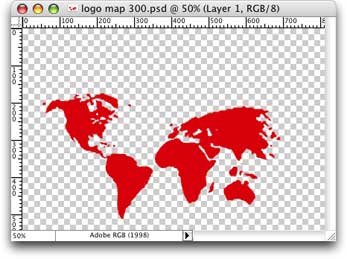
49. Next we want to create a new layer and fill the
selection with a single color. In this example, I chose
bright red. You can also use straight black if you
wish. This was just a random choice, but I did want
a nice strong color that would be easy to trace in
Streamline. Please view the QuickTime® movie below
to see how to do it step by step.
Commands used in the movie: Macintosh to Windows translations
| Macintosh |
Windows |
Command |
| Cmd+D |
Ctrl+D |
Deselect |
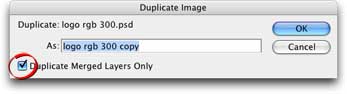
50. Next, click Image > Duplicate. In the
Duplicate Image dialog, click the "Duplicate Merged
Layers Only" checkbox. This will create a flatten image
(single layer). Click File > Save As and
give it a file name. In this example, I called the
new file "logo map 300.psd".
Click
Here To Continue...
|