|
|
Creating
Multiple Page Documents
With Adobe® Illustrator® |
 |
|
|
|
|
|
|
Adobe Illustrator does not provide for multiple page
documents per se. It only recognizes a single page.
However, it does provide for tiling printed output if
the page size exceeds your printer's paper size. Page
tiling is simply where the printed output is divided
up into "tiles". Each tile is the size of
one sheet of paper. Essentially, you setup the artboard
to be a custom page size whose dimensions are in multiples
of a single sheet of paper. Then you tell Illustrator
to tile the output when printed. Following is a step-by-step
example.
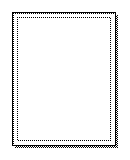
1. First click File > New. The default page
size is 8 1/2 inches by 11 inches (letter size). The
view in the document window should look similar to the
one below.

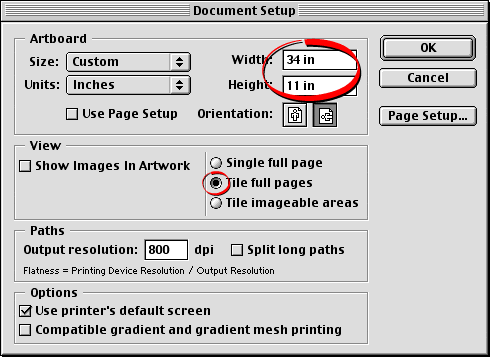
Click File > Document Setup... In the Artboard
section of the dialog, choose "Custom" for
the size, and enter the page dimensions in the Width
and Height boxes. In this case we will make the artboard
four times the width of a single sheet of paper - 34
inches (4 x 8 1/2 inches). We'll leave the height at
11 inches. In the View section of the dialog, choose
"Tile full pages". Click "OK" when
done.

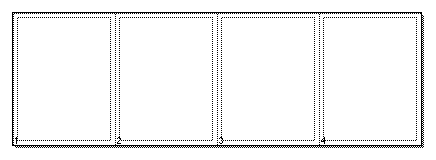
3. Now, the view in the document window should look
similar to the one below. Note that the page tile numbers
(shown below) do not print.

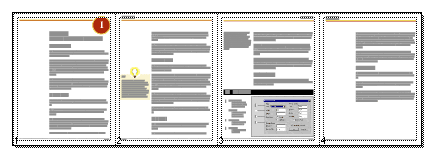
4. Build your layout like you would any other multiple
page document. The pages are divided between the page
tiles. When you click File > Print, Each tile
will output as a separate page.

 |
|
Tip:
If you want to save the file as a multiple page
PDF, don't use File > Save As > PDF, otherwise
you will only get a one-page PDF the size of the
artboard. If you want to make a multiple page PDF
file, use Adobe Acrobat® Distiller® and
click File > Print > to Distiller. |
|