|
|
A
Rainbow of Illustrator® 9 Gel Buttons
Part 1A |
 |
|
|
|
|
|
|

This tutorial shows how to make a rainbow
of colored gel buttons based on a single master button.
Anyone with intermediate level skills should be able
to follow this tutorial. There are similar tutorials
on making gel buttons but all of them I have seen are
pixel-based and use image editing programs to create
the effect. This tutorial uses a drawing program. The
advantage is that merely by changing the color values
of the individual objects in the master button you can
create a button of any color. With a pixel-based program
you virtually have to make the button from scratch each
time you want to change the color. You can only use
programs that support vector objects, live (editable)
bitmap effects and transparency for this kind of button.
Adobe® Illustrator 9 fits the bill. I can't think
of an easier way to create these buttons because, as
you will experience for yourself, changing the color
of the button is nothing more than a couple of clicks
away.
The following description, "Deconstructing
The Gel Button Master", describes how to put the
button together. You can either download the master
button in Illustrator 9 format or build it from scratch
by using the instructions and screen shots below.
1. Shown below is a screen shot of the
master button. You can download the master button (below
right) and skip the section on "Deconstructing
The Gel Button Master" then continue with the sections
on making rollover images and changing colors if you
want.
Deconstructing The Gel Button Master
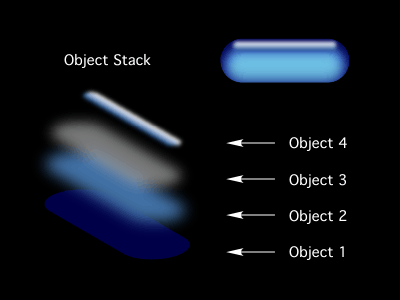
2. Shown below is a representation of
the gel button's object stack. There are only four objects
(other than a clipping path). You build the button from
the bottom up. You start by making "Object 1"
then add Objects 2 through 4 as you build it.
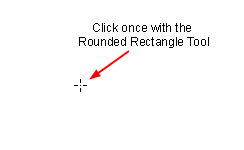
3. Select the Rounded Rectangle Tool  and click once on the artboard.
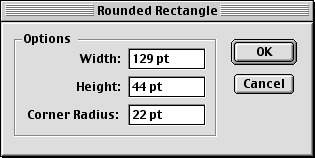
4. You will see a dialog where you enter
the specifications for the rounded rectangle. We want
the button to be 129 points wide by 44 points high.
In order for the ends to be semicircular in shape the
corner radius is half the value of the height (22 points).
Click "OK" when done.
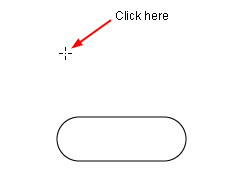
5. You will see the rounded rectangle
on the artboard. This will be "Object 1" and
will lie at the bottom of the stack. We need to make
three more of them. With the Rounded Rectangle Tool
still selected, click once again near the first object.
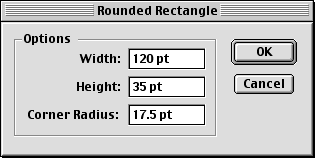
6. We want this object to be 120 points
wide by 35 points high with a corner radius of 17.5
points. Click "OK" when done entering the
specs.
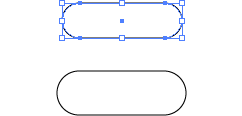
7. The second object will appear on the
artboard.
8. Drag this object into position over
the first one approximately like the example shown below
right. Position is not critical. We will use the Transform
palette later on to adjust its position precisely.
Click
Here To Continue...
|