|
|
Font
Basics - Part 4A
Installing Fonts on a Macintosh System
|
 |
|
|
|
|
|
|
Installing fonts on a Macintosh® is
the same for both Type 1 and TrueType® fonts. Simply
drag and drop them into the System Fonts folder (Macintosh
HD:System:Fonts). I always install copies of
fonts. I never install originals because it is too easy
for them to become damaged. An open font file can become
damaged on a Mac® if the computer crashes or freezes.
The following description details how to install fonts
on a Mac.
1. Open the System Fonts folder. You will
see all the currently installed fonts.
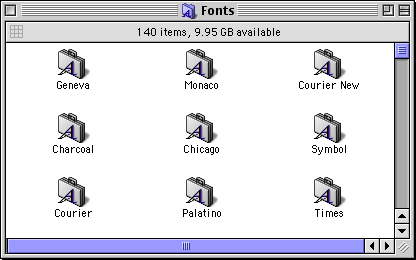
2. Select a drive and folder containing
the fonts you want to install. In this case, I am using
the Adobe® Illustrator® 9 CD. Open the folder
on containing the fonts you wish to install.
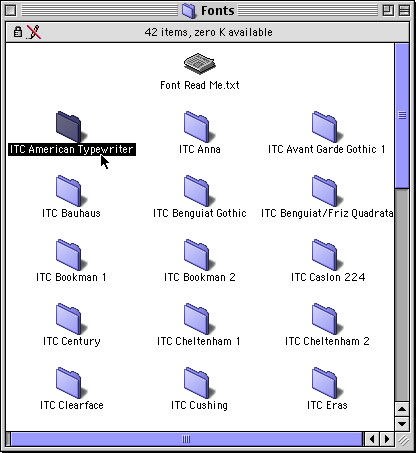
3. In this case I selected the folder
with the ITC American Typewriter font family.
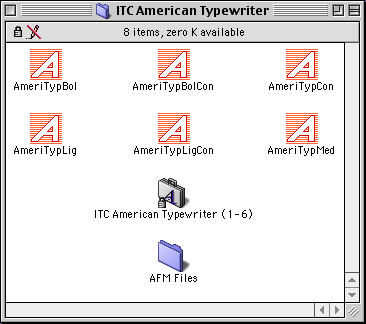
4. Marquee-select all the screen and printer
fonts needed. (click
here and here
for more)
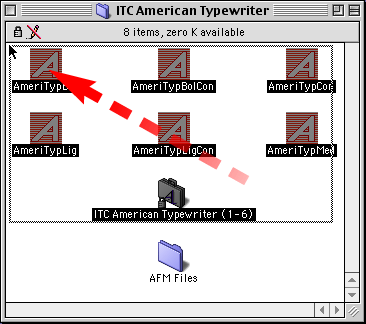
5. Drag and drop them them into the System
Fonts folder. Hold down the Option key to copy the fonts
while dragging.
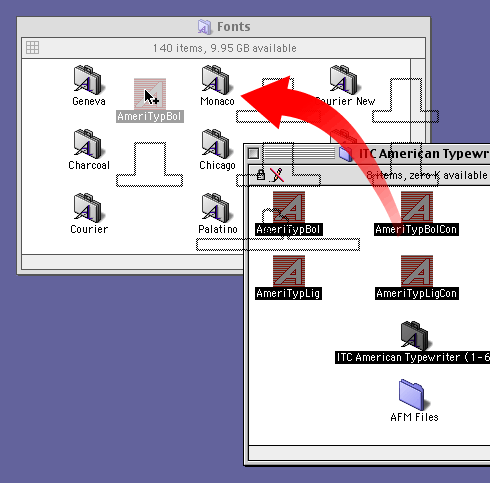
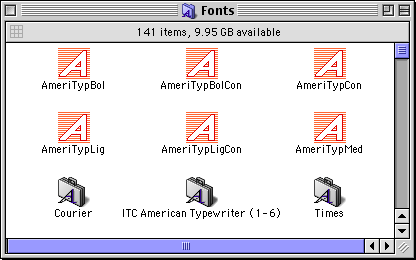
6. You can see your newly installed fonts
in the System Fonts folder.
7. You may see the following reminder
that any currently running applications won't be able
to use the new fonts until you close them and restart
them.

Click
Here To Continue...
|