|
|
Canvas
6™ Technical Manual Project
Part 2A - Create The Master Pages |
 |
|
|
|
|
|
|
Return
To Technical Manual Project Index
1. The first action is to create a new
publication document. Click File > New and
in the dialog, select "Publication" from the
list (below left). You must choose from a list of available
templates. For this exercise we will choose the Blank
template. We want to use points as the unit of measure
so next click Layout > Rulers. In the dialog
(below right), choose ruler number 2 from the presets
because it is setup for points. Click "OK"
when done.
2. Next, click Layout > Document Setup to
open the dialog (below left). We want 36 points for
left and right margins and 18 points for top and bottom
margins. Choose "Points" for the document
units and "US Letter" as the publication size.
Check the "Facing Pages" box and click "OK"
when done. Next open the Document layout palette and
activate the Master Page layer (below right).
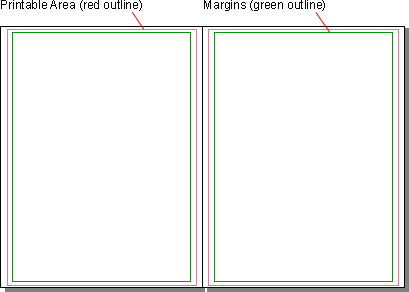
3. Your screen should look similar to the example below.
The printable area of the default printer in your system
will determine the appearance of the red outlines surrounding
the margins. The margins determine the appearance of
the green outlines.
4. In this case we are going
to setup the printer using the Adobe®
Acrobat® Distiller®
printer driver. If you don't have the Acrobat package,
you can load a different driver or keep the default
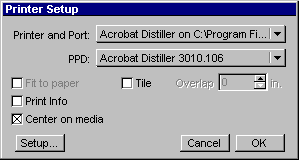
printer driver. Click File > Printer Setup
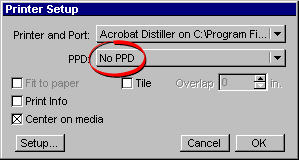
to access the dialog shown below. Select the printer
driver from the "Printer and Port:" pulldown.
When the driver is first selected the default for the
PPD (PostScript® Printer Definition
file) is "No PPD". The PPD contains all the
information Distiller needs to output the file so we'll
load the Distiller PPD.
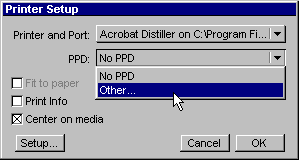
5. Click the PPD pulldown then select "Other...".
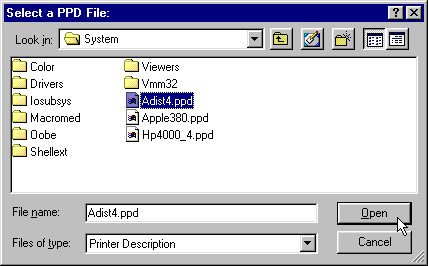
6. Navigate to the folder that contains the PPD. When
Acrobat is installed on a Windows®
system, it gets placed in the \Windows\System folder.
Highlight the PPD file and click "Open". In
Mac® OS systems it may be
located in the System Folder:Extensions:Printer Descriptions
folder or the Adobe Acrobat 3.0:Xtras folder or the
Adobe Acrobat 4.0:Xtras folder - depending on which
version you have.
7. When you return to the dialog, you will see that
the PPD has been selected. Click "OK".
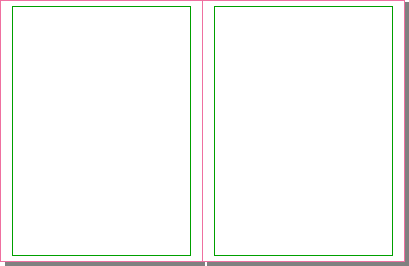
8. Now the appearance of the document reflects the
changes made to the printer setup. In this case the
printable area expands to the edges of the page.
Click Here To Continue...
|