|
|
Improving
Image Quality When Rendering Canvas™ Paint
Objects - Part Two |
 |
|
|
|
|
|
|
5. Drag the new paint object off to the side and re-select
the vector drawing and click Image > Area >
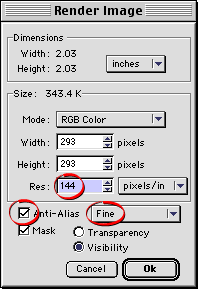
Render... again. This time in the Render Image dialog,
enter 144 for the resolution. Use the same settings
as before for everything else. Click "OK"
to render another paint object.
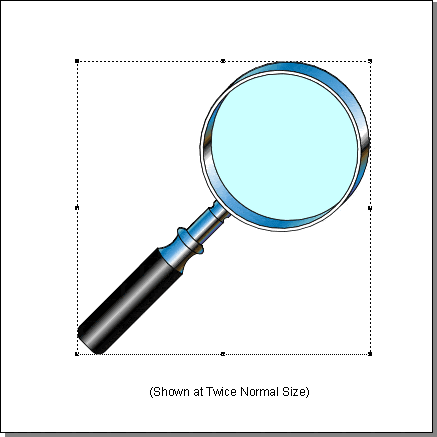
6. This paint object was rendered at twice the resolution
as the previous one and has more pixels (four times
as many).
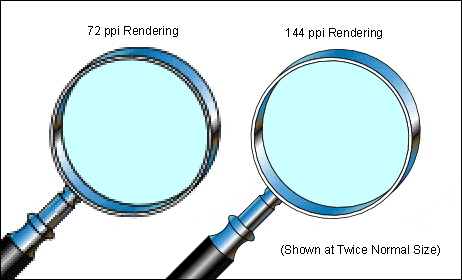
7. When you look at both paint objects side-by-side
it is obvious that the one rendered at 144 ppi (pixels
per inch) is a higher quality image because it has more
pixels. But what will happen if we resample (downsample)
it to 72 ppi and give it the same number of pixels as
the first one? Will it look better, worse or the same
as the first rendering? Let's try it.
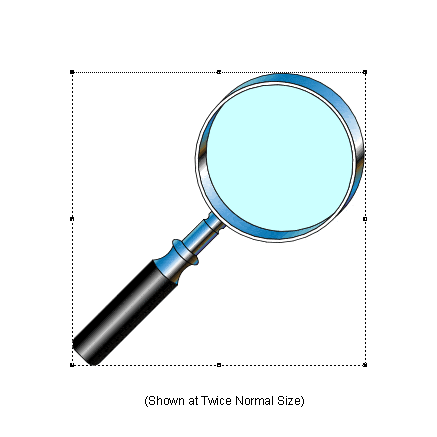
8. Select the 144 ppi paint object.
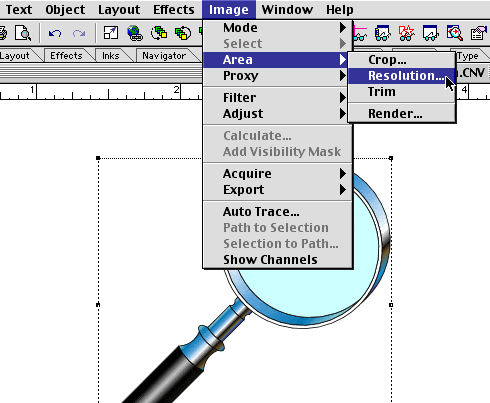
9. Now click Image > Area > Resolution...
to resample it.
Click
Here To Continue...
|