|
|
Quick
and Easy Gel Buttons in Canvas™ 7
Part Eleven |
 |
|
|
|
|
|
|
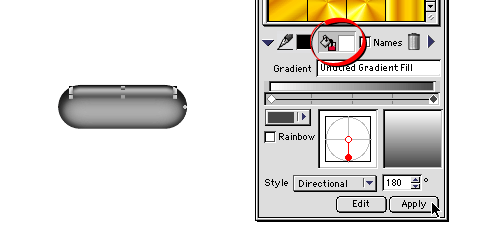
39. Make sure the Fill icon is depressed, then click
the "Apply" button in the manager.
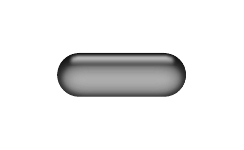
40. Shown below is the finished button.
41. Next, use the gel button master number
1 (the yellow one) and follow the previous steps to
change it to grayscale.
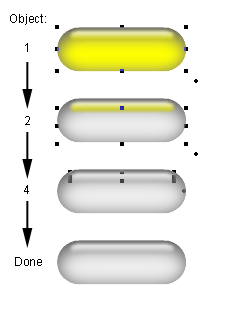
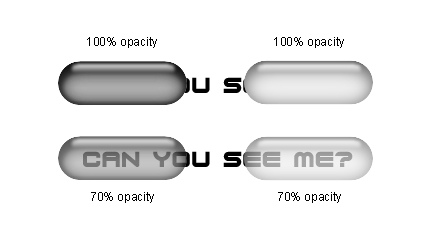
42. Shown below are the finished buttons.
The buttons in the second row are 70% opacity and can
be used for different states of a rollover effect. As
you can see, text is visible through the button.
Click
Here To Continue...
|