|
|
Canvas™
Rollover Buttons - Part Two |
 |
|
|
|
|
|
|
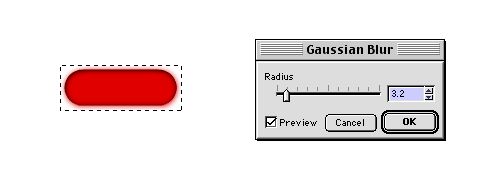
7. Next click Object > SpriteEffects™
> Add Effect > Blur > Gaussian Blur, and
enter 3.2 pixels in the dialog. If the "preview"
checkbox is checked, you will see a live preview while
the dialog is open. Click "OK" when done.
At this point marquee-select these two rounded rectangles
then click Edit > Copy followed by Edit
> Paste to copy and paste them to another section
of the workspace to be used at a later step.
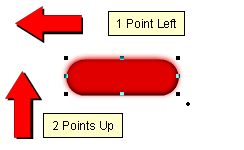
8. Make sure the document magnification is 100%, (actual
size), then press the "up" arrow twice and
the left arrow once to shift the top rectangle upwards
2 points and to the left 1 point. This reveals the lower
right edge of the black rectangle and will give the
button a rounded bevel appearance.
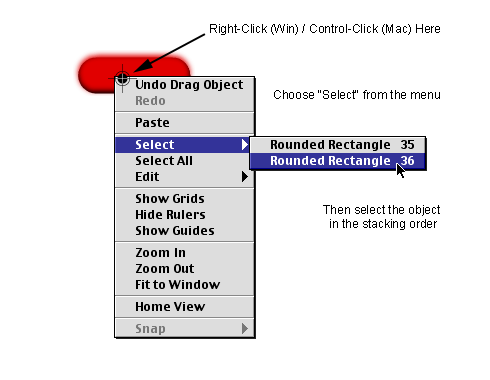
9. Next, we want to clip these two objects to give
them a clean edge. We will make an exact duplicate of
the bottom rectangle and place it at the top of the
stack and use it as a clipping path. Right-click (Windows®)
or Control-click (Mac®) to
access the context menu. We want to select the bottom
rectangle. The objects directly under the point where
the mouse was clicked will appear in the menu. Choose
the bottom one in the stack.
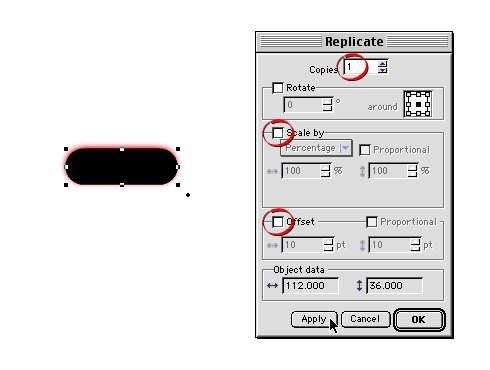
10. With the bottom object selected, click Edit
> Replicate once again and use the same settings
as before (one copy, no scaling or offset).
11. Now marquee-select all three rounded rectangles.
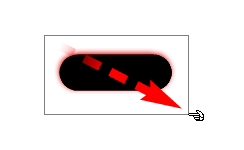
12. Next click Object > Clipping Path > Make
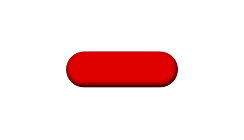
followed by Object > Group. The button should
look similar to the example below. This is the one for
the "up" button.
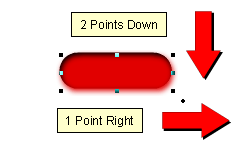
13. For the "over" button, use the copies
that were made in a previous step and this time shift
the blurred rectangle downwards two points and to the
right one point. This reveals the upper left edge of
the black rectangle and will give the button a cutout
appearance. Repeat steps 9 through 12 on this button
to make a clipping path exactly as was done for the
"up" button.
Click
Here To Continue...
|