|
|
Applying
a Gradient Across Multiple
Objects In Illustrator® - Part Two |
 |
|
|
|
|
|
|
5. While all the objects are still selected, click Object > Compound
Path > Make. Notice that the gradient is now applied across all the
objects instead of each one individually.

Alternate Method Using The Vector Gradient Tool (Continuing From Step
5)
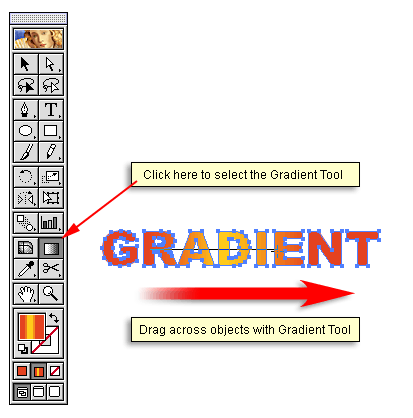
Illustrator offers an alternate way to apply a gradient across multiple
objects. You can interactively apply the gradient using the Gradient Tool
to selected objects instead of a composite object.
6. Select the Gradient Tool from the Toolbox then click and drag the
mouse across the selected objects.

7. Release the mouse and click off the object to see the effect.

Click Here For Doing This Technique With Deneba
Canvas™
Click Here For Doing
This Technique With Macromedia® FreeHand®
|