|
|
A
Rainbow of Illustrator® 9 Gel Buttons
Part 1E |
 |
|
|
|
|
|
|
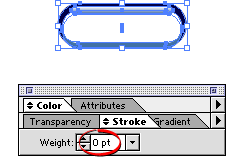
32. Enter zero for the stroke. Fast, huh?
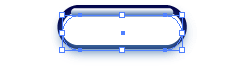
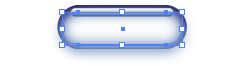
33. At this stage. the objects on your
artboard should look similar to the example below.

34. Now for the magic. Select "Object
2" (the second one from the bottom), then click
Effect > Blur > Gaussian Blur and enter
a radius of 5.6 pixels. Click "OK" when done.
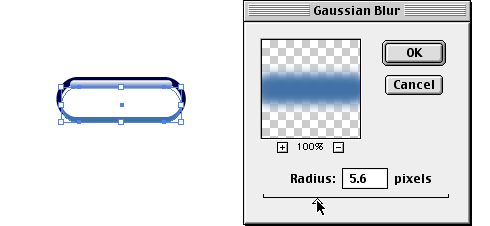
35. Object 2 should now have the appearance
of a Gaussian Blur. You can adjust the appearance of
any effect by double-clicking the effect listed in the
Appearance palette.
36. Next select "Object 3" (the
third one from the bottom) and, again, click Effect
> Blur > Gaussian Blur and enter a radius
of 7.0 pixels. Click "OK" when done.
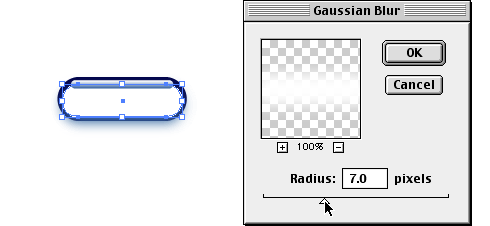
37. The objects on your artboard should
look similar to the example below.
Click
Here To Continue...
|