|
|
Vectorize
a Logo From an Image |
 |
|
|
|
|
|
|
Part I: Separate The Green Color
In this part, the best approach is to select the orange
areas, then invert the selection so everything except
the orange colored areas are selected. This will be
the fastest and easiest way to separate the green color.
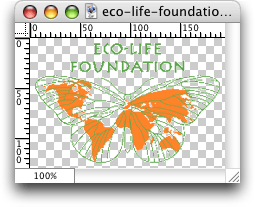
1. The first step is to load the GIF image into Photoshop®.
Click File > Open to open the file.

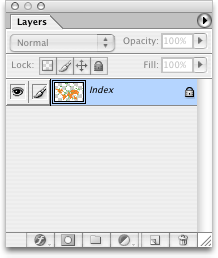
2. When you first open the file, please observe the
Layers Palette. Next to the layer thumbnail image,
it says Index. This indicates that the file is indexed
color. GIF images use indexed color so we first have
to convert it to True Color RGB. This tutorial requires
that we work in RGB format so to convert the image
to RGB click Image > Mode > RGB. Please
notice in the Layers Palette that the word "Index" no
longer appears next to the layer, rather you see the
word, "Layer 1". Photoshop® does not allow you
to add layers to an indexed color image, but it is
easy enough to convert to RGB format.

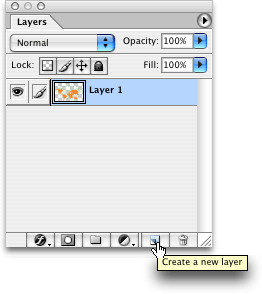
3. For clarity, we will add a new layer to the file
and Bucket-Fill it with white so you can see the artwork
more clearly. Click the small curled page icon at the
bottom of the Layers Palette. This is the "Create a
new layer" button.

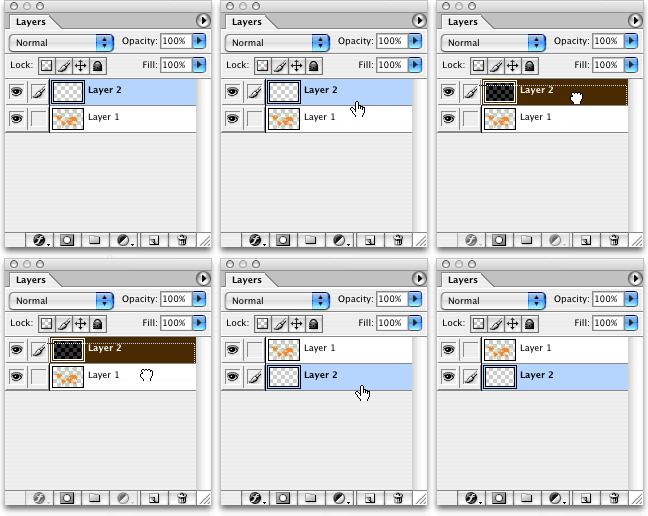
4. Next, drag the new layer underneath Layer 1 to
position it underneath it. Look at the animation below
to see how this is done.

Click
Here To Continue...
|