|
|
Vectorize
a Logo From an Image |
 |
|
|
|
|
|
|
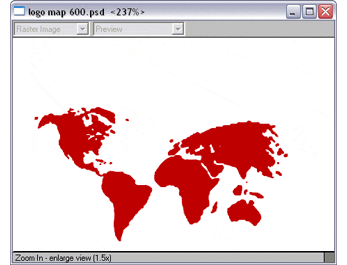
59. Switch back to Adobe® Streamline®, then
click File > Open and navigate to the logo
map 600.psd Photoshop® file created in the previous
step. The document window will look something like
the one below.

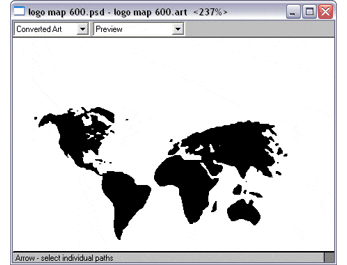
60. Next, click File > Convert. The converted art will appear in
the document window as shown below.

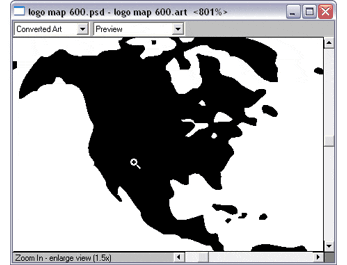
61. Use the Zoom Tool again and drag a marquee around an area of the converted
art to take a closer look. This time I am happy with the conversion. The
converted art looks smoother than when done using a 300 ppi image.

 |
|
Note: Don't
get the idea that you will always have to work
with a 600 PPI image to get a good conversion.
Usually 300 PPI is plenty. |
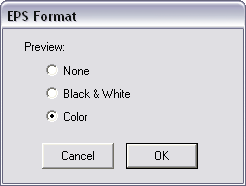
62. Click File > Save Art As, then choose
a filename and save the vector art to disk. When the
dialog appears for you to choose the EPS preview option,
chose color. Click OK to save the EPS file to disk.

Click
Here To Continue...
|