|
|
Animation
Porting Examples - No. 3C |
 |
|
|
|
|
|
|
Porting An AVI Movie To QuickTime™
Format With ImageReady™ - Continued
9. In the dialog, select "QuickTime Movie"
from the Format drop-down.
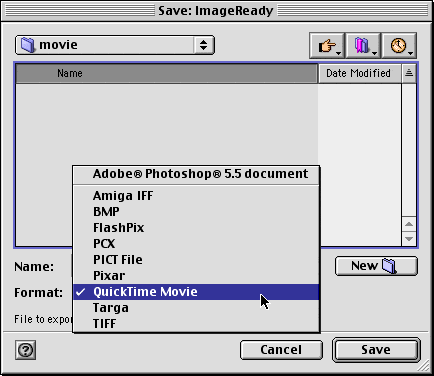
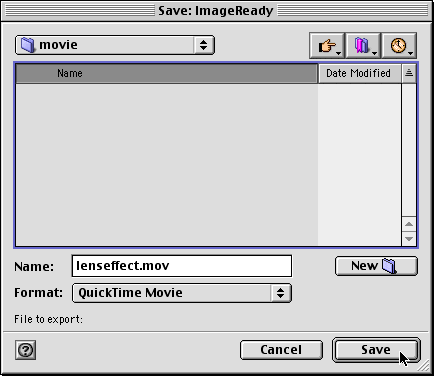
10. Then click "Save".
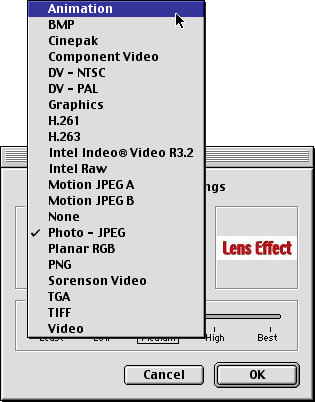
11. You will see a dialog with the defaults for QuickTime.

12. In this case choose "Animation" from
the "Compressor" drop-down.
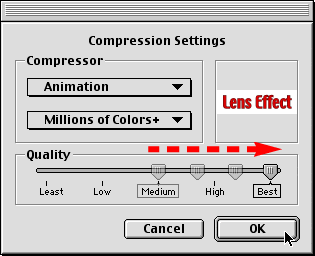
13. The color depth drop-down will default to "Millions
of Colors". We want the highest quality possible
because in this case we are going to use the QuickTime
file to port the movie between programs. If the movie
were to be distributed over the Internet, you would
select less quality to achieve a smaller file size.
Drag the "Quality" slider all the way to the
right (see the arrow in the graphic below). Click "OK"
when done.
14. The exported QuickTime movie will appear on your
drive.
|