|
|
| |
|
|
 |
| |
| |
|
Advanced |
|
| |
|
|
Opening
Separated Mask And Bitmap In CorelDRAW® 8 |
 |
|
|
|
|
|
|
1. Launch CorelDRAW 8 and click File > New
(unless there is already a blank, new workspace available).
Then click File > Import > TIFF and select
the TIFF file previously saved.
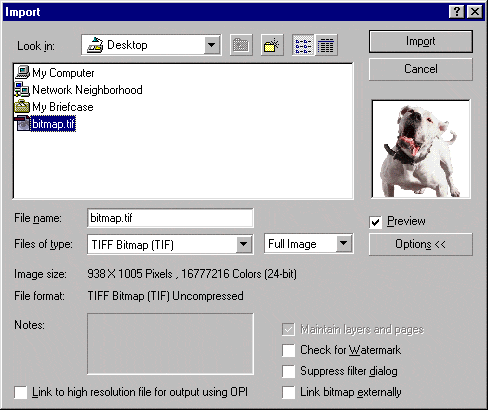
2. When the corner-shaped cursor appears, click the
mouse once.

3. The imported TIFF will appear.

4. Next, click File > Import > PostScript
Interpreted (PS, PRN, EPS) and select the mask that
was previously saved as an EPS file.
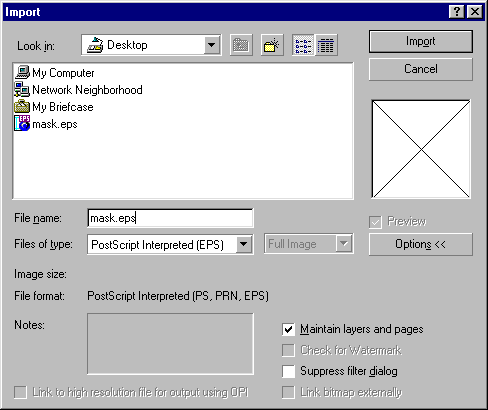
5. You'll see an "Import PostScript" dialog.
Just accept the defaults and click "OK".
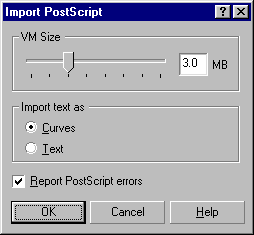
6. When the corner-shaped cursor appears, click the
mouse once. Don't worry about the alignment of the mask
for now, this is just an exercise.
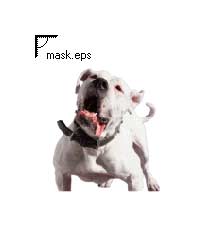
7. The mask is now imported into the image as a separate
object available for editing.
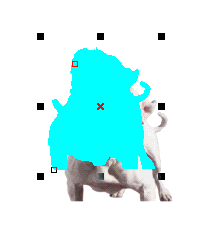
8. With the mask still selected, click the Fill Tool,
and select "No Fill".

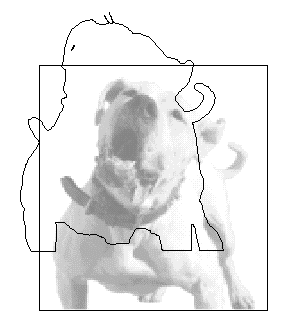
9. Click "Wireframe View" to make both the
mask and bitmap objects visible. You can now manipulate
the mask as a separate object anyway you wish.
Click
Here To Continue...
|
|
 |
 |
 |
| |
Previous
Home
Contact Mike
Related Sites
Next
Copyright
© 1998-2016 Mike Doughty, All Rights Reserved Legal
Notices
Page Last Revised: October 26, 2016
Privacy Policy
|
|
|
|
|
|
|
|