|
|
A
Rainbow of Illustrator® 9 Gel Buttons
Part 5B |
 |
|
|
|
|
|
|
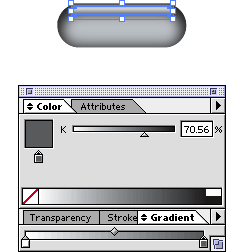
81. Finally, select "Object 4" as in a previous
step. In the Gradient palette click the slider of the
second color of the gradient. Once again, choose the
Grayscale color model from the Color palette options
menu.
82. The second color of the gradient will convert to
grayscale and the Color palette will again display its
value.

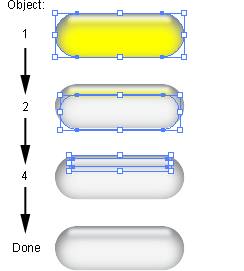
83. Below is a screen shot of the finished button.

84. You can convert any of the other RGB buttons to
grayscale. Below is a copy of the yellow button made
in a previous step. Follow the previous steps to change
it to grayscale.

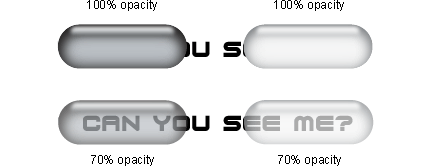
85. Shown below are the finished buttons. The buttons
in the second row are 70% opacity and can be used for
different states of a rollover effect. As you can see,
text is visible through the button.

|