|
|
A
Rainbow of Illustrator® 9 Gel Buttons
Part 1C |
 |
|
|
|
|
|
|
20. Select "Object 2" and enter
minus 10.471 points for its y-coordinate in the Transform
palette.

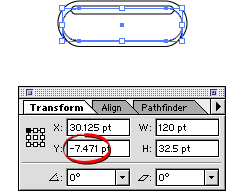
21. Select "Object 3" and enter
minus 7.471 points for its y-coordinate in the Transform
palette.

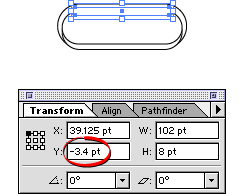
22. Then select "Object 4" and
enter minus 3.4 points for its y-coordinate.

23. Now all the objects are positioned
where we want them.

24. Bring up the Color palette then select
the bottom object ("Object 1"). Select the
fill box in the palette and give it a fill color using
the RGB values of 0, 0, and 72 respectively.
25. Select "Object 2" in the
stack. Give it a fill color using the RGB values of
65, 113 and 166 respectively.
26. Select "Object 3" to verify
that its RGB values are 255, 255 and 255 (white). If
you created this object with the default stroke and
fill colors, this will be the case.
Click
Here To Continue...
|